Get started with APV
This guide shows you how to use the risk assessment overview and turn identified risks into concrete action plans.
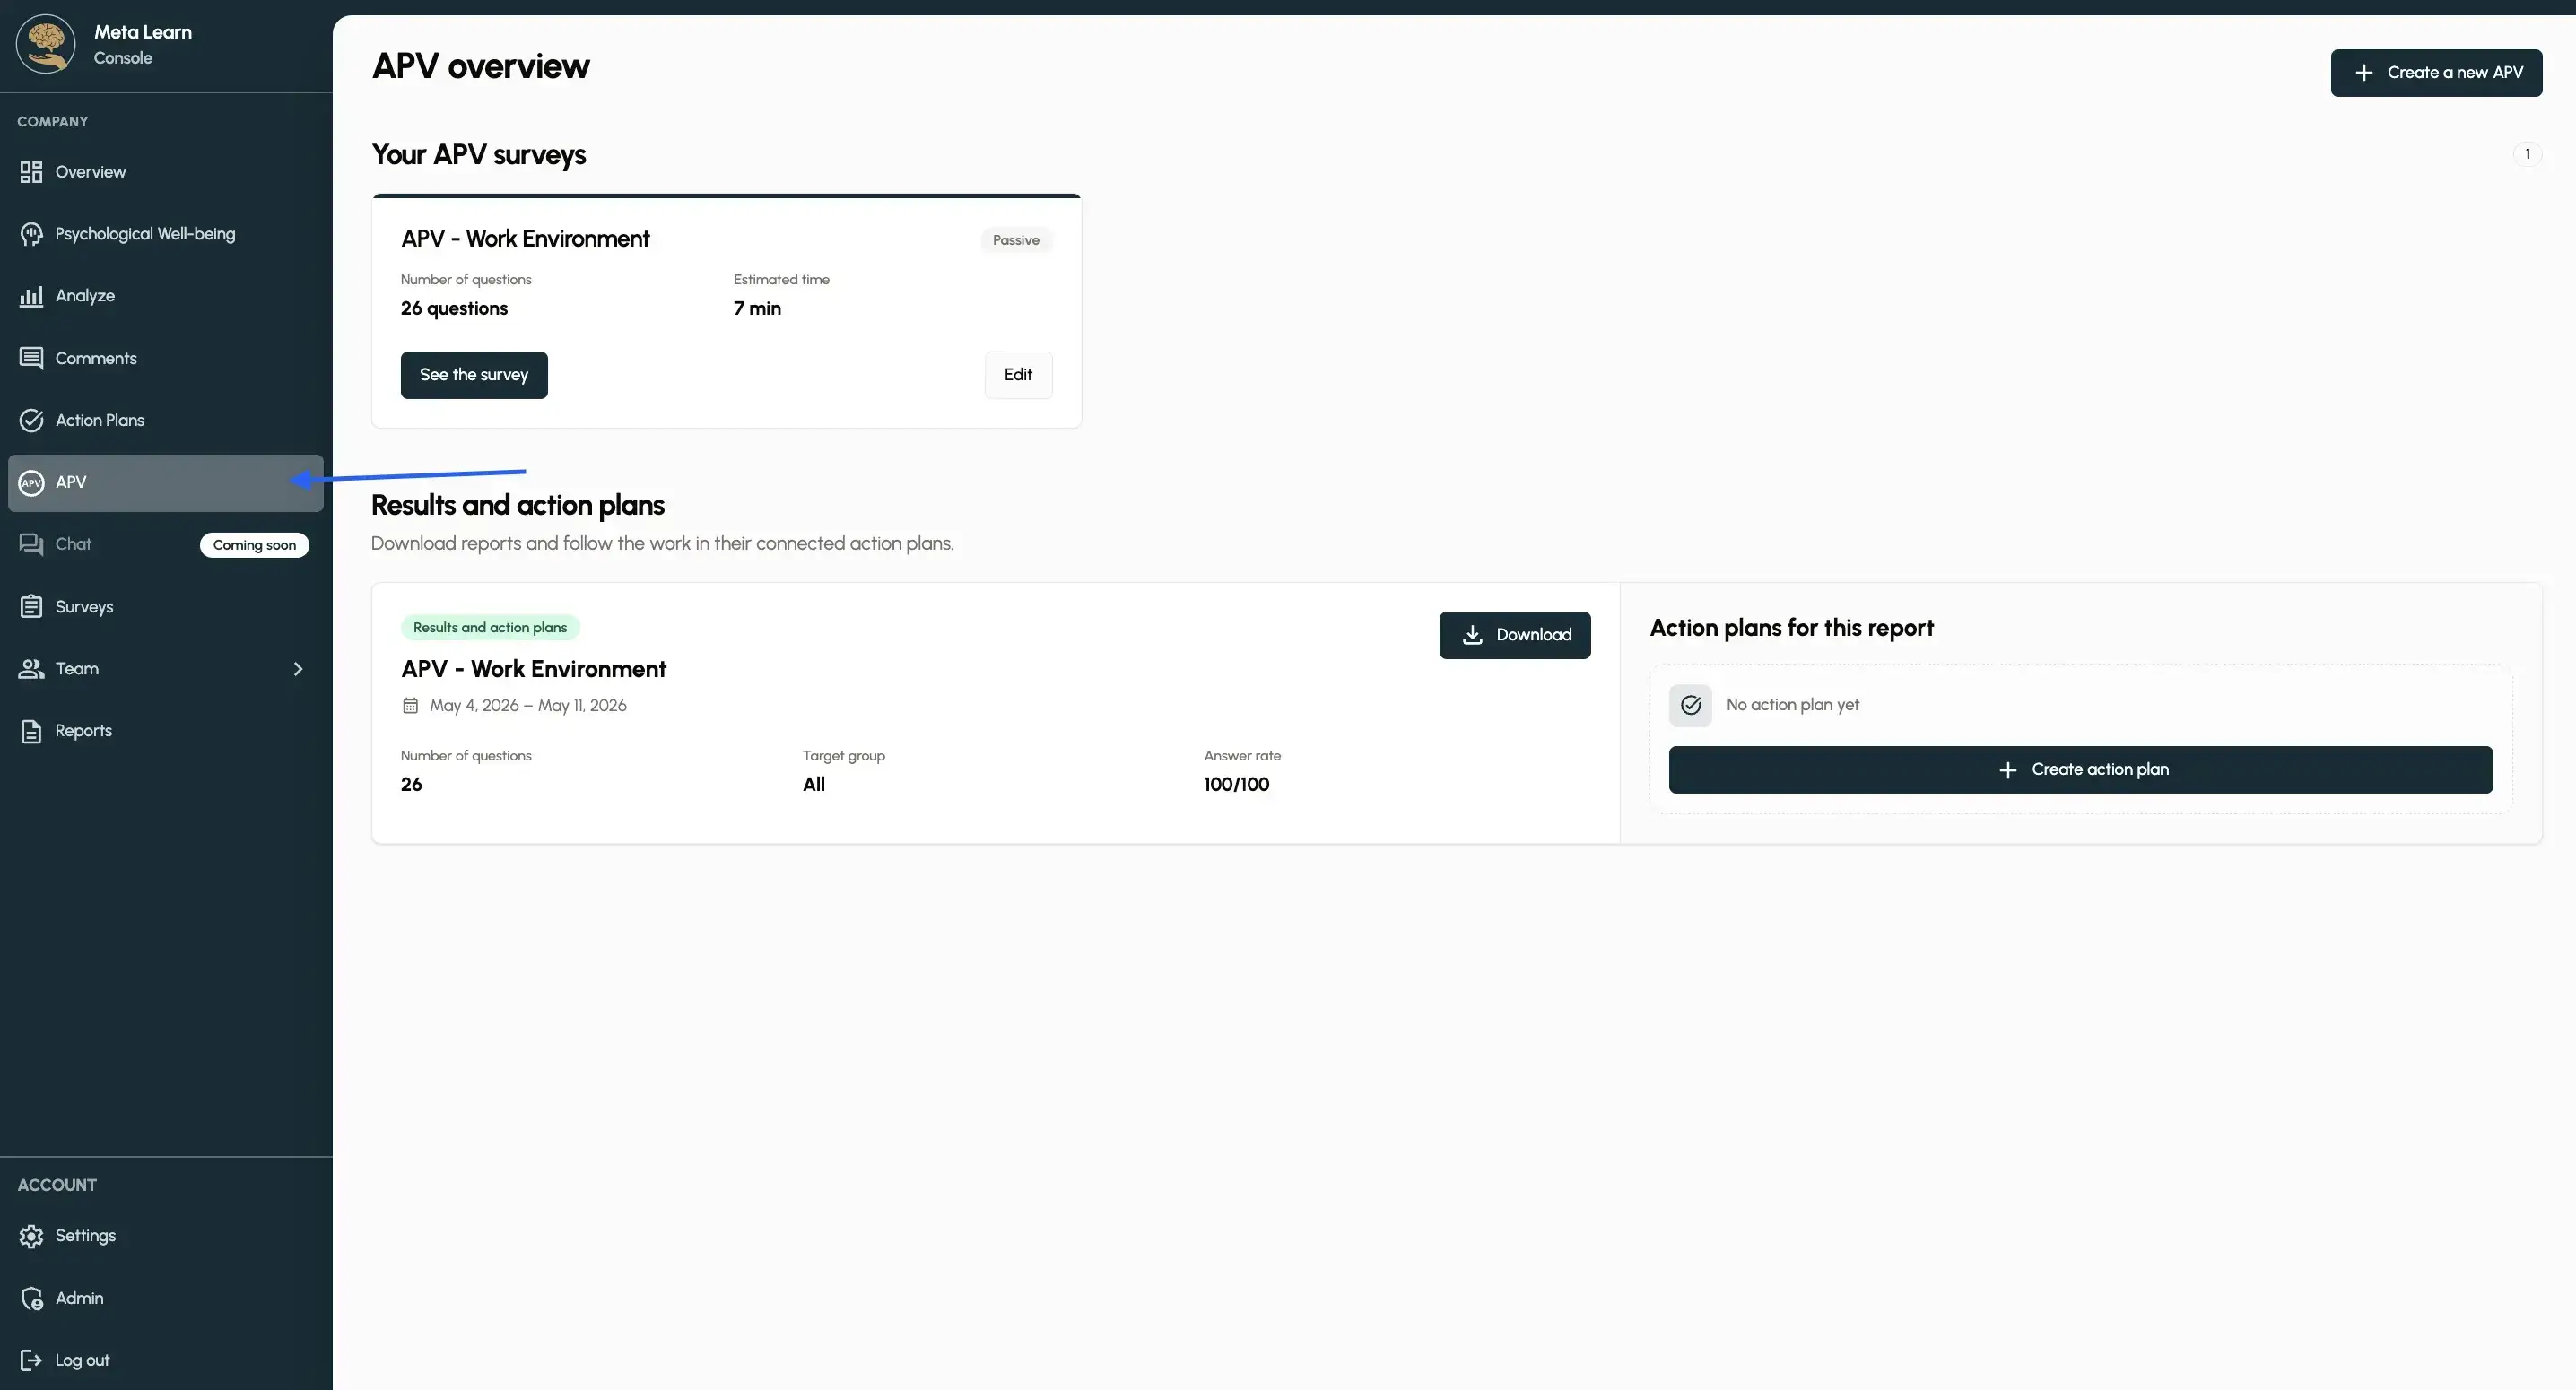
Step 1: Open APV
Select “APV” in the menu on the left to view your APV overview. Everything is gathered here in one place.
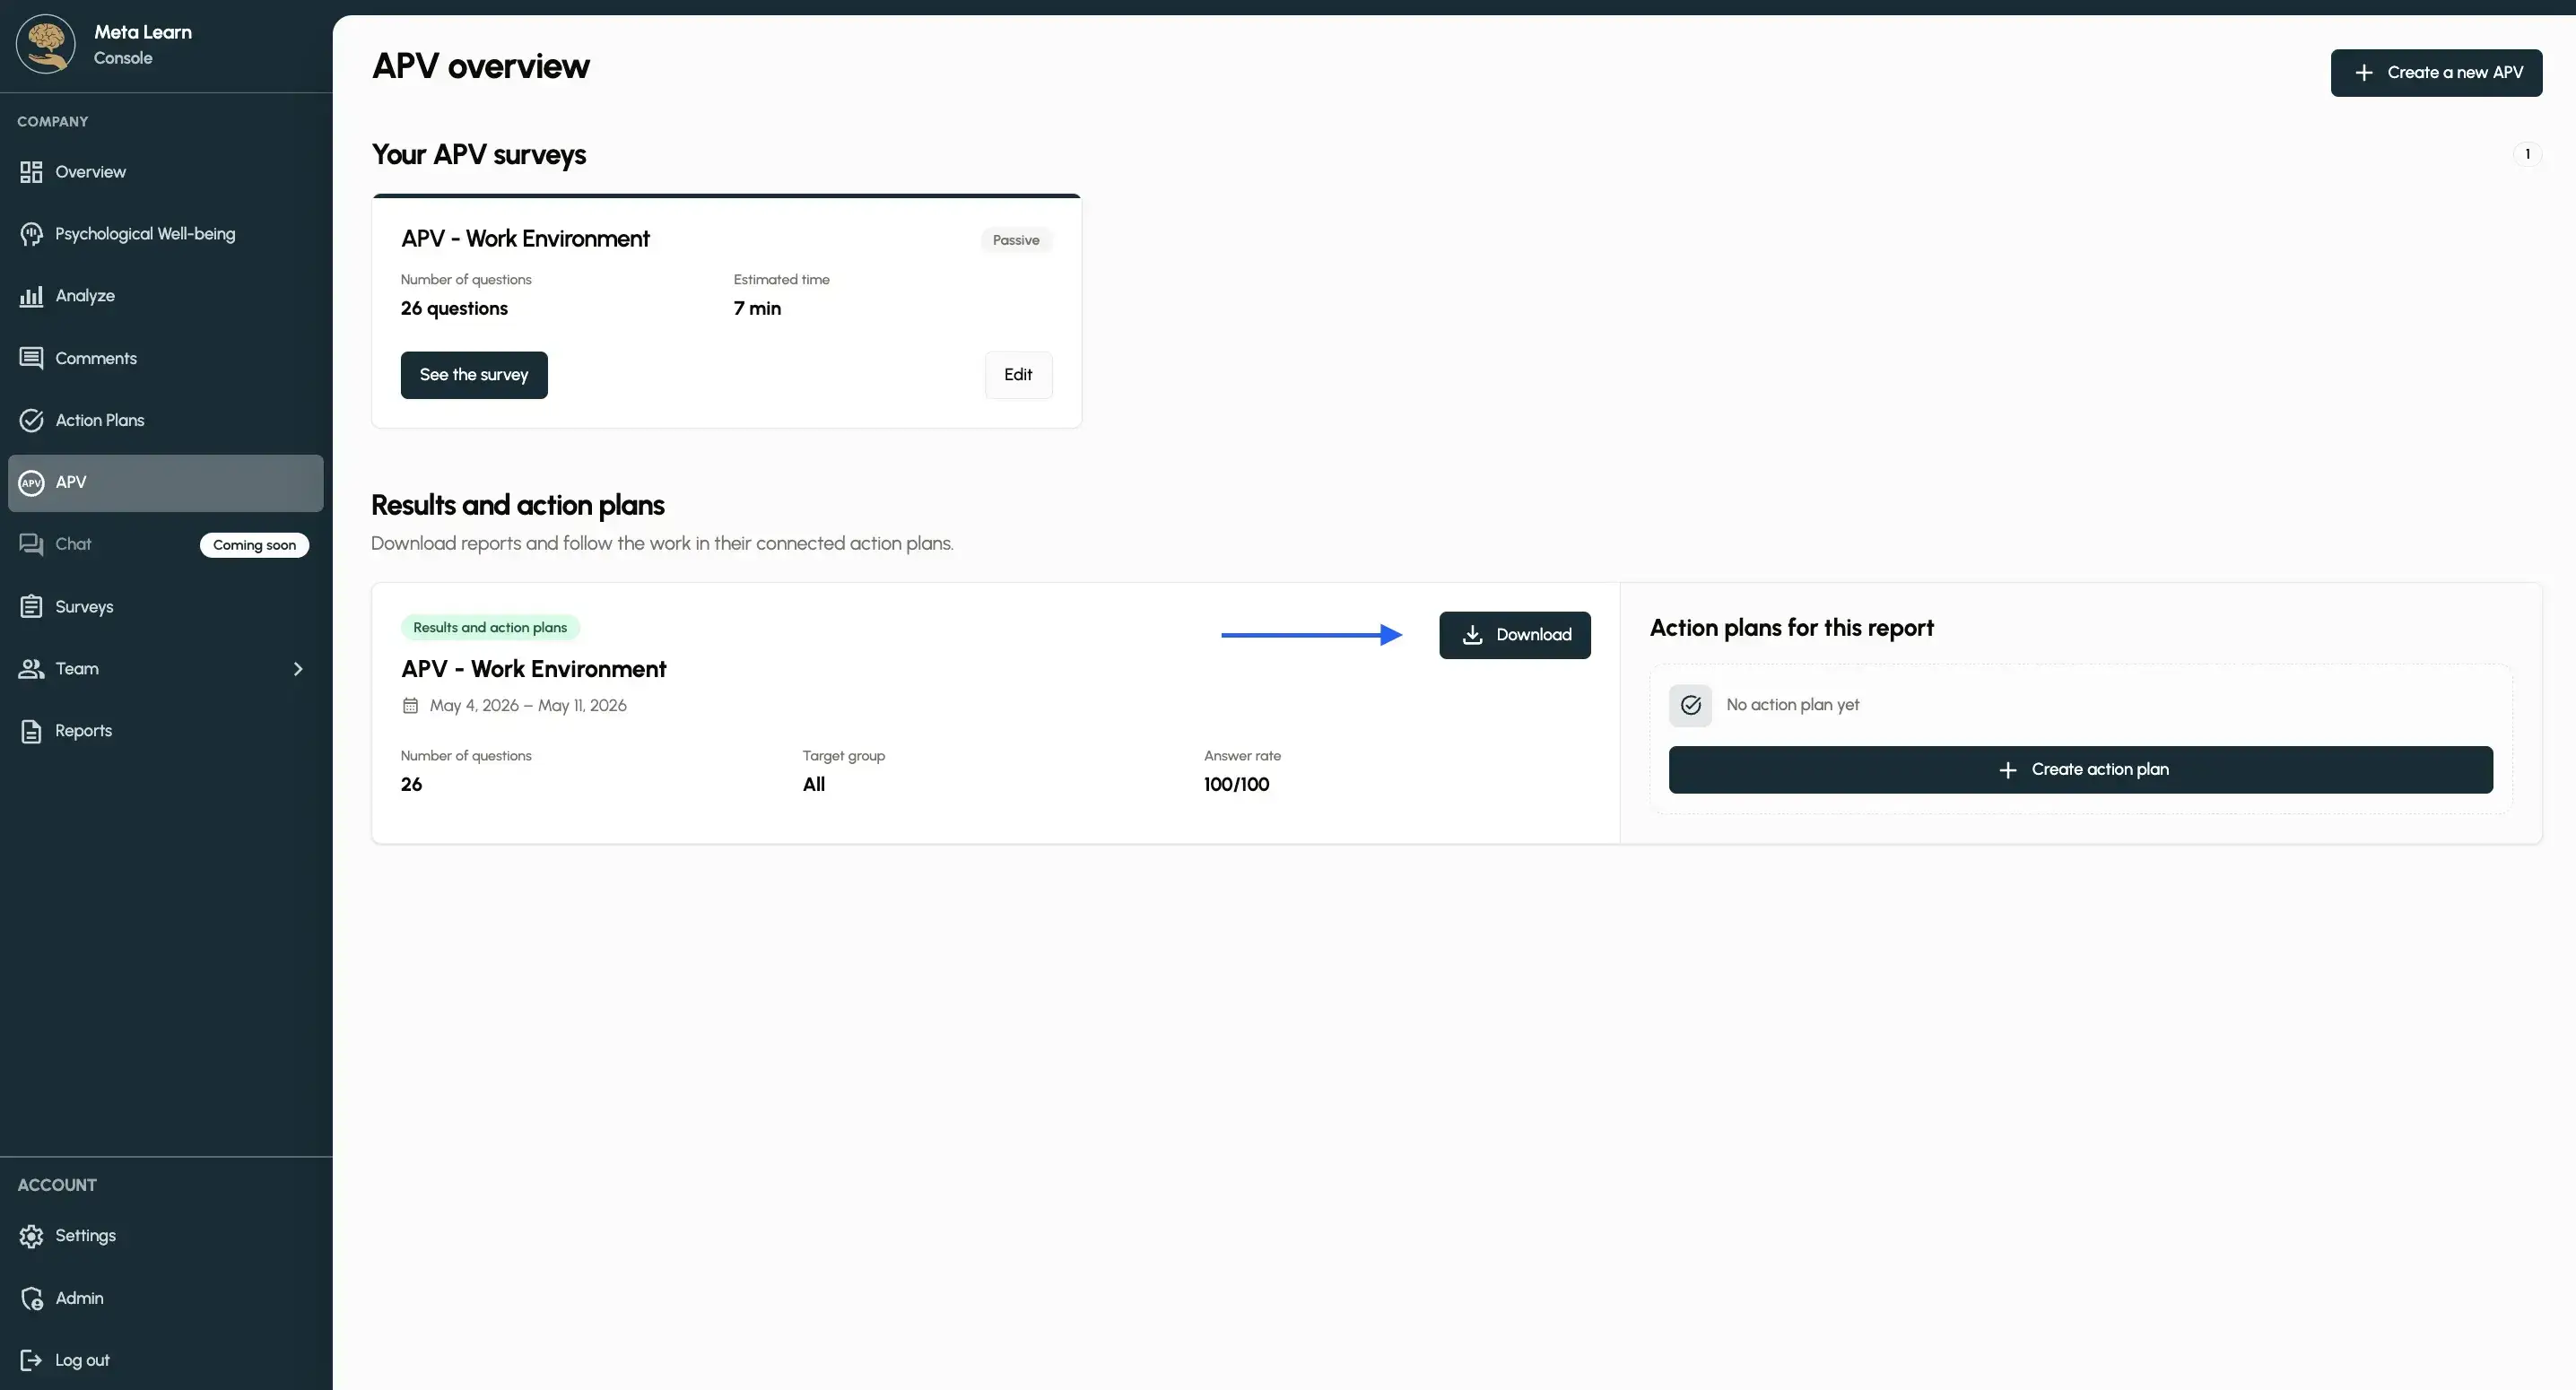
Step 2: Download the report
In the overview, you can click ‘Download’ to get the full report as a PDF, ready to share with your management team.
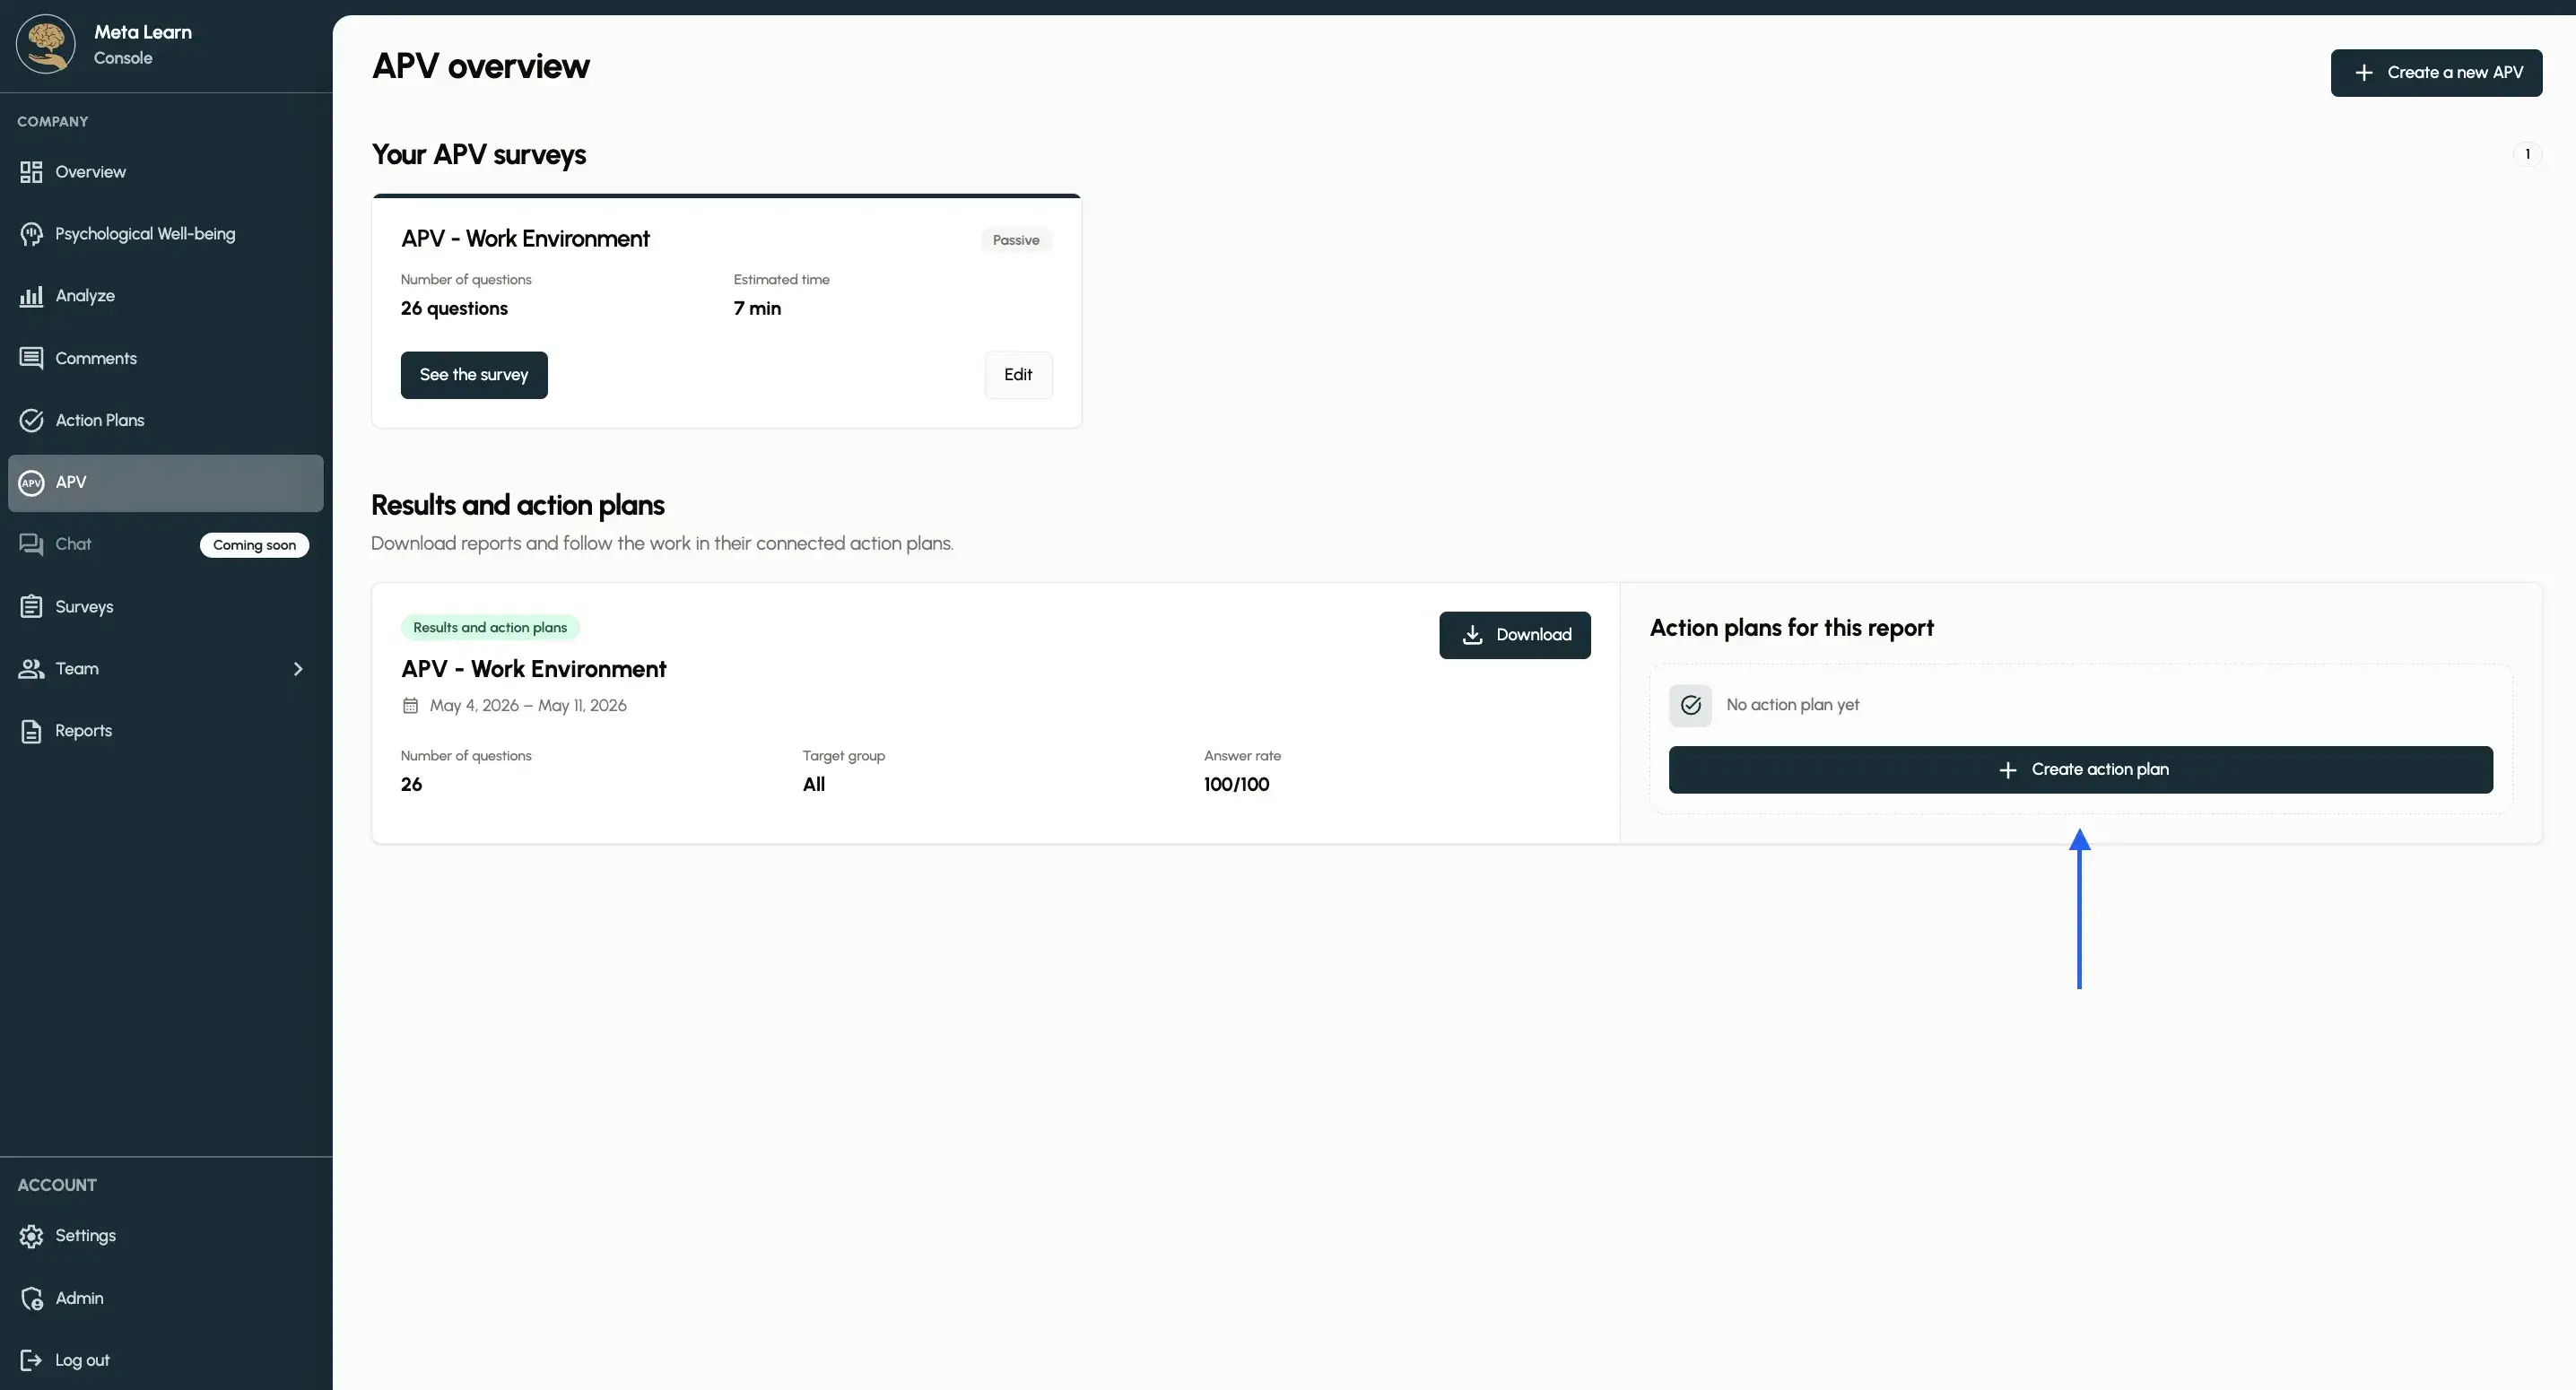
Create an action plan
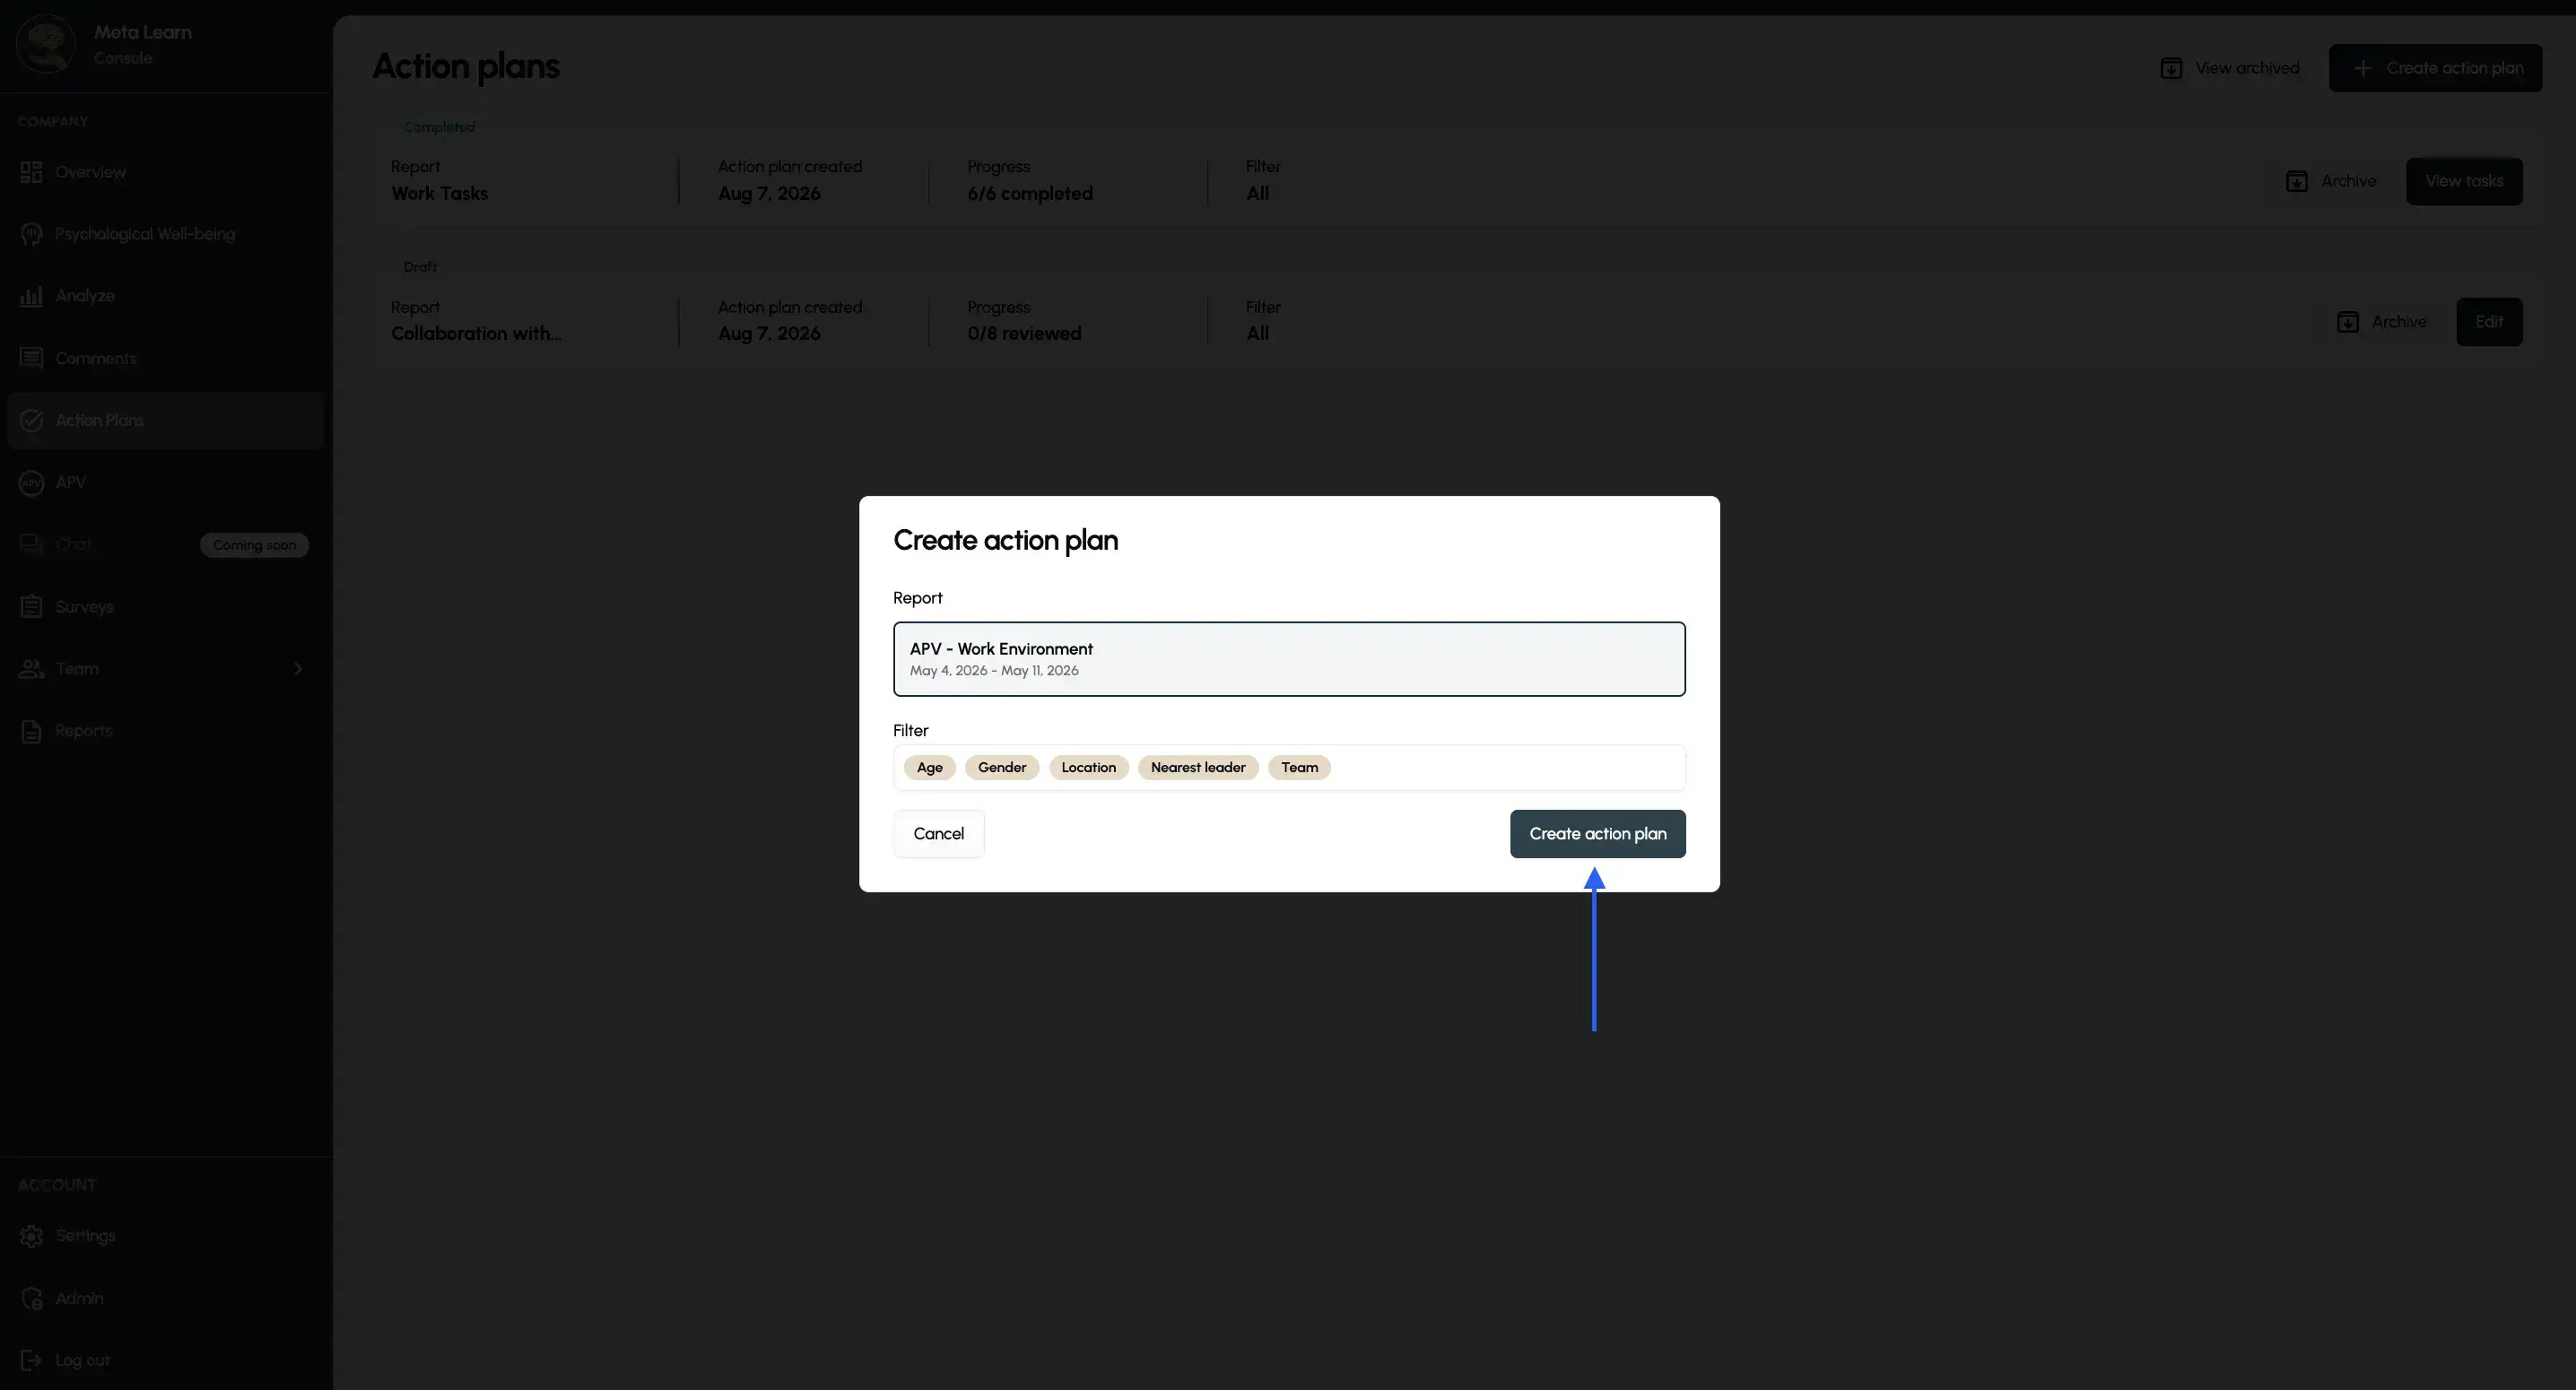
If you want to start working on your action plan, tap “Create action plan”.
Choose an APV
Select the APV you want to create action plans for and click “Create action plan.” Here, you can also filter out specific segments if needed, making it possible to create multiple action plans.
Step 5: Review the overview
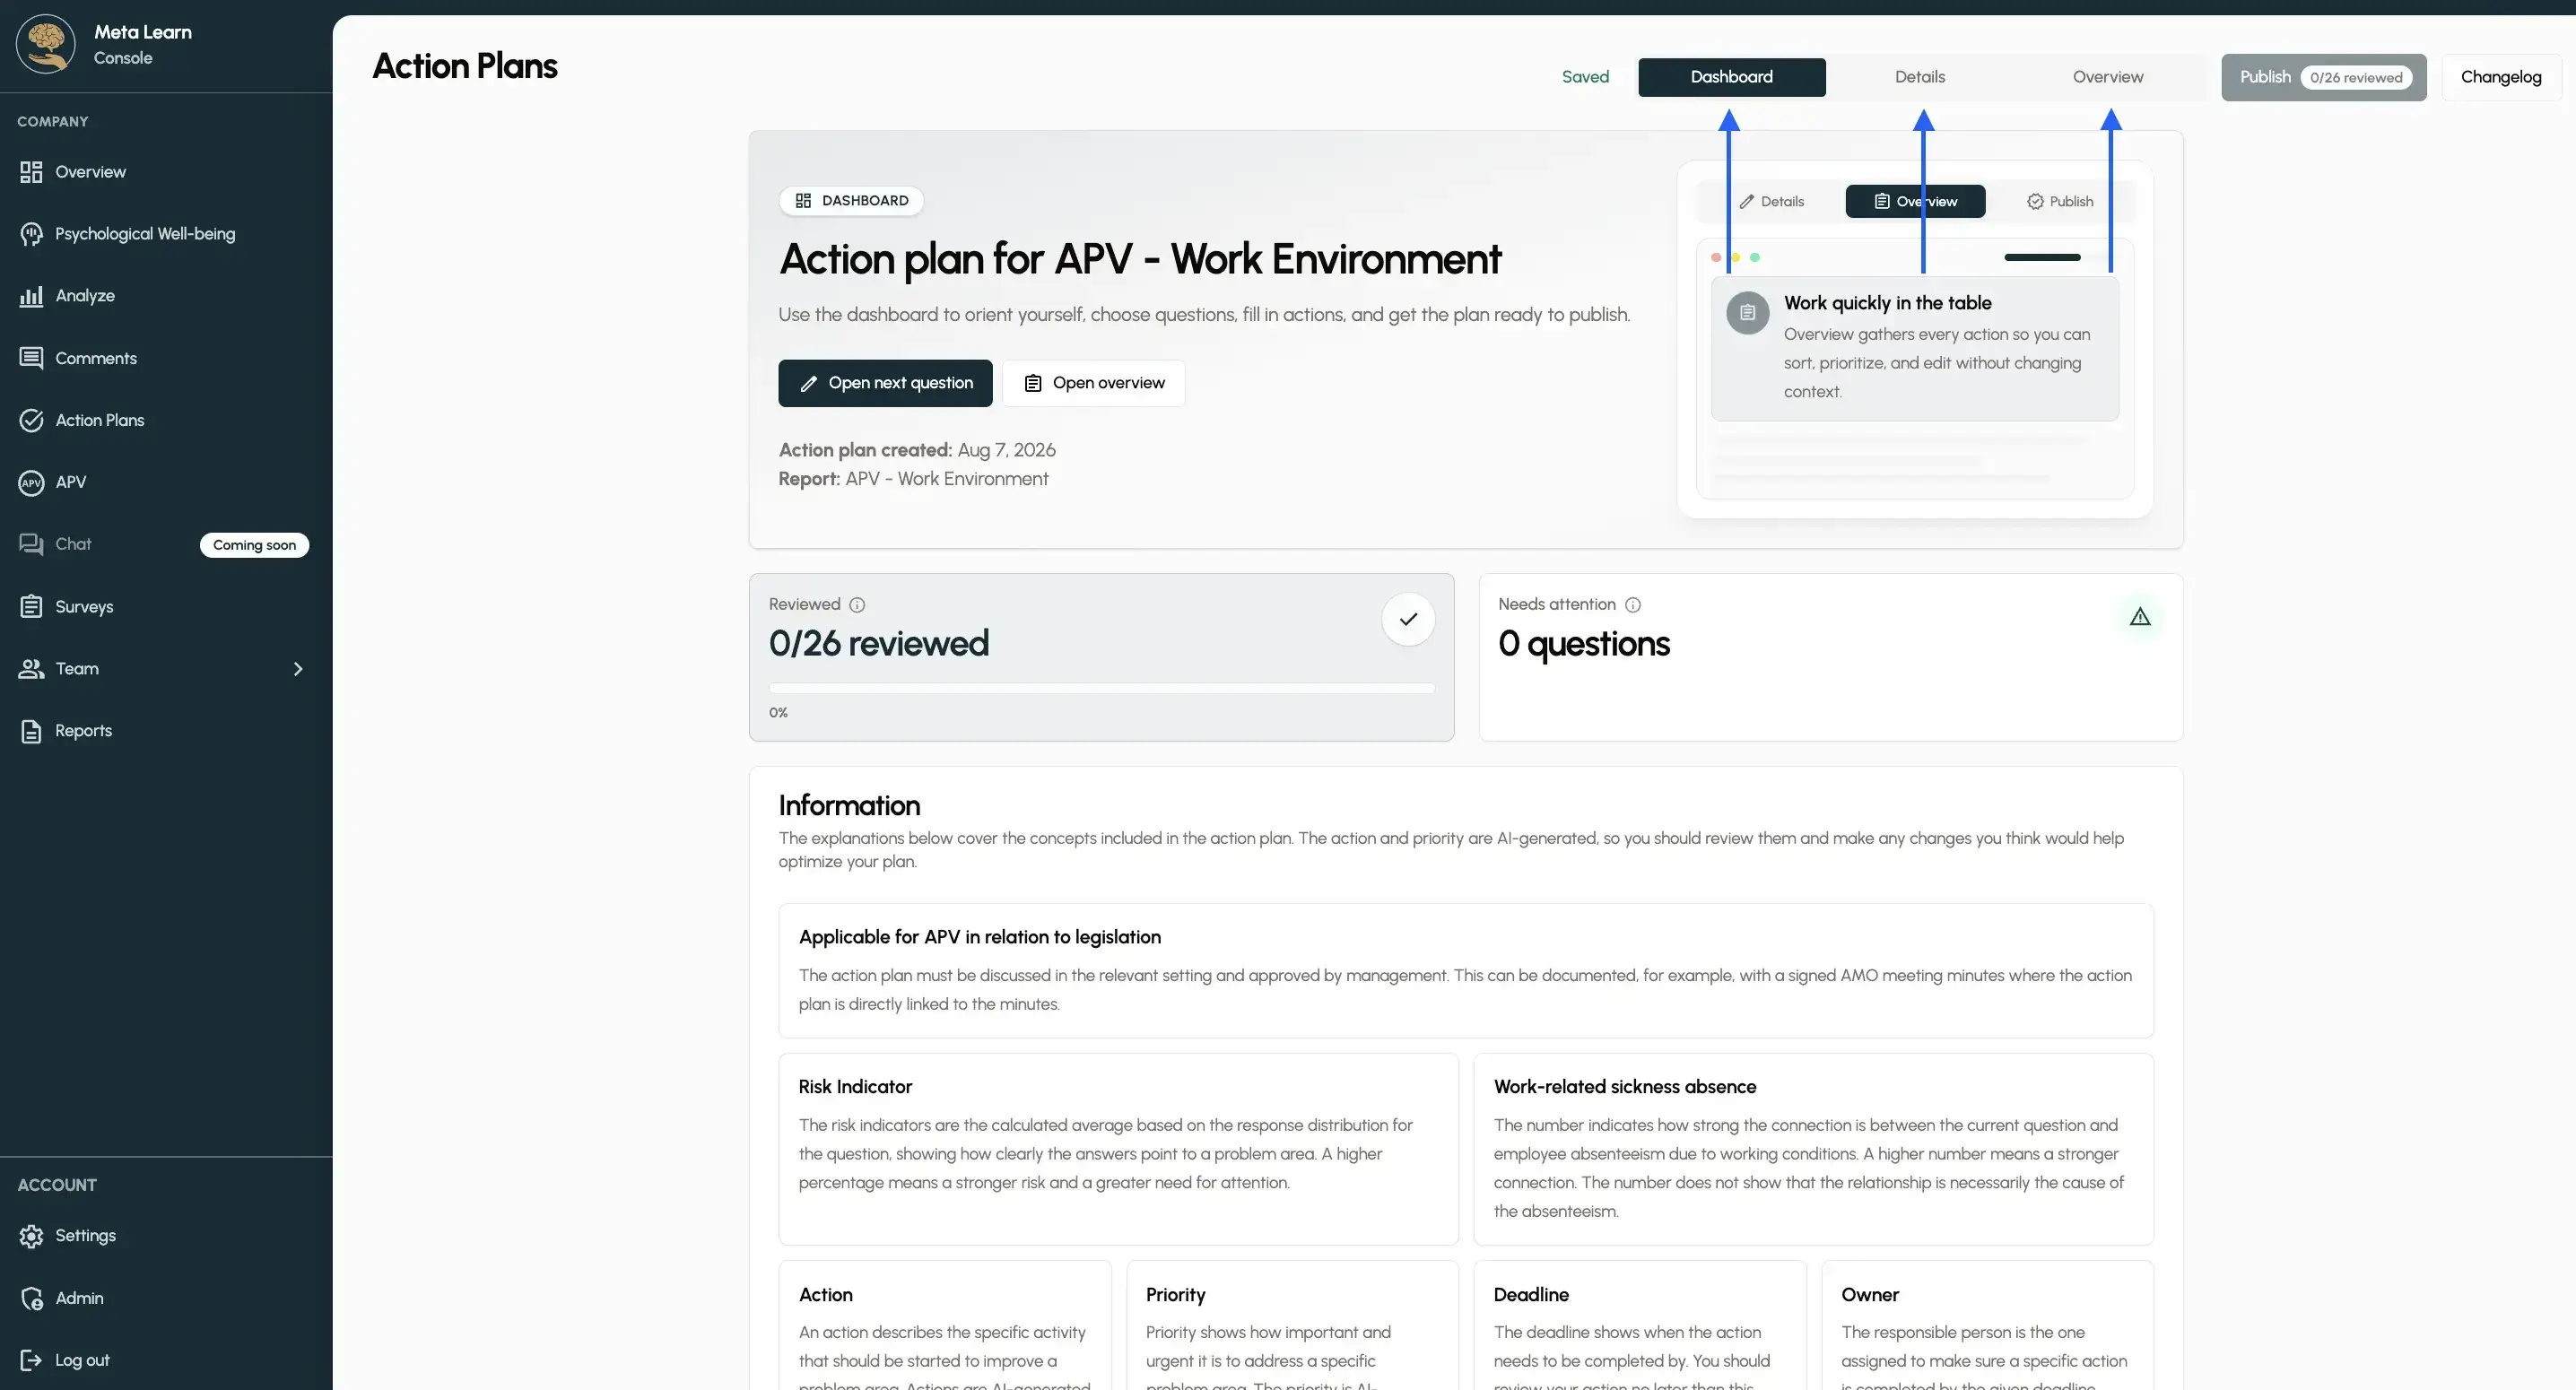
Once the action plan has been created, you’ll be taken to the home page. There, you can learn more about the APV itself and how to work with the action plans. You can also choose between “Dashboard,” “Details,” and “Overview.”
Step 6: Open the next question
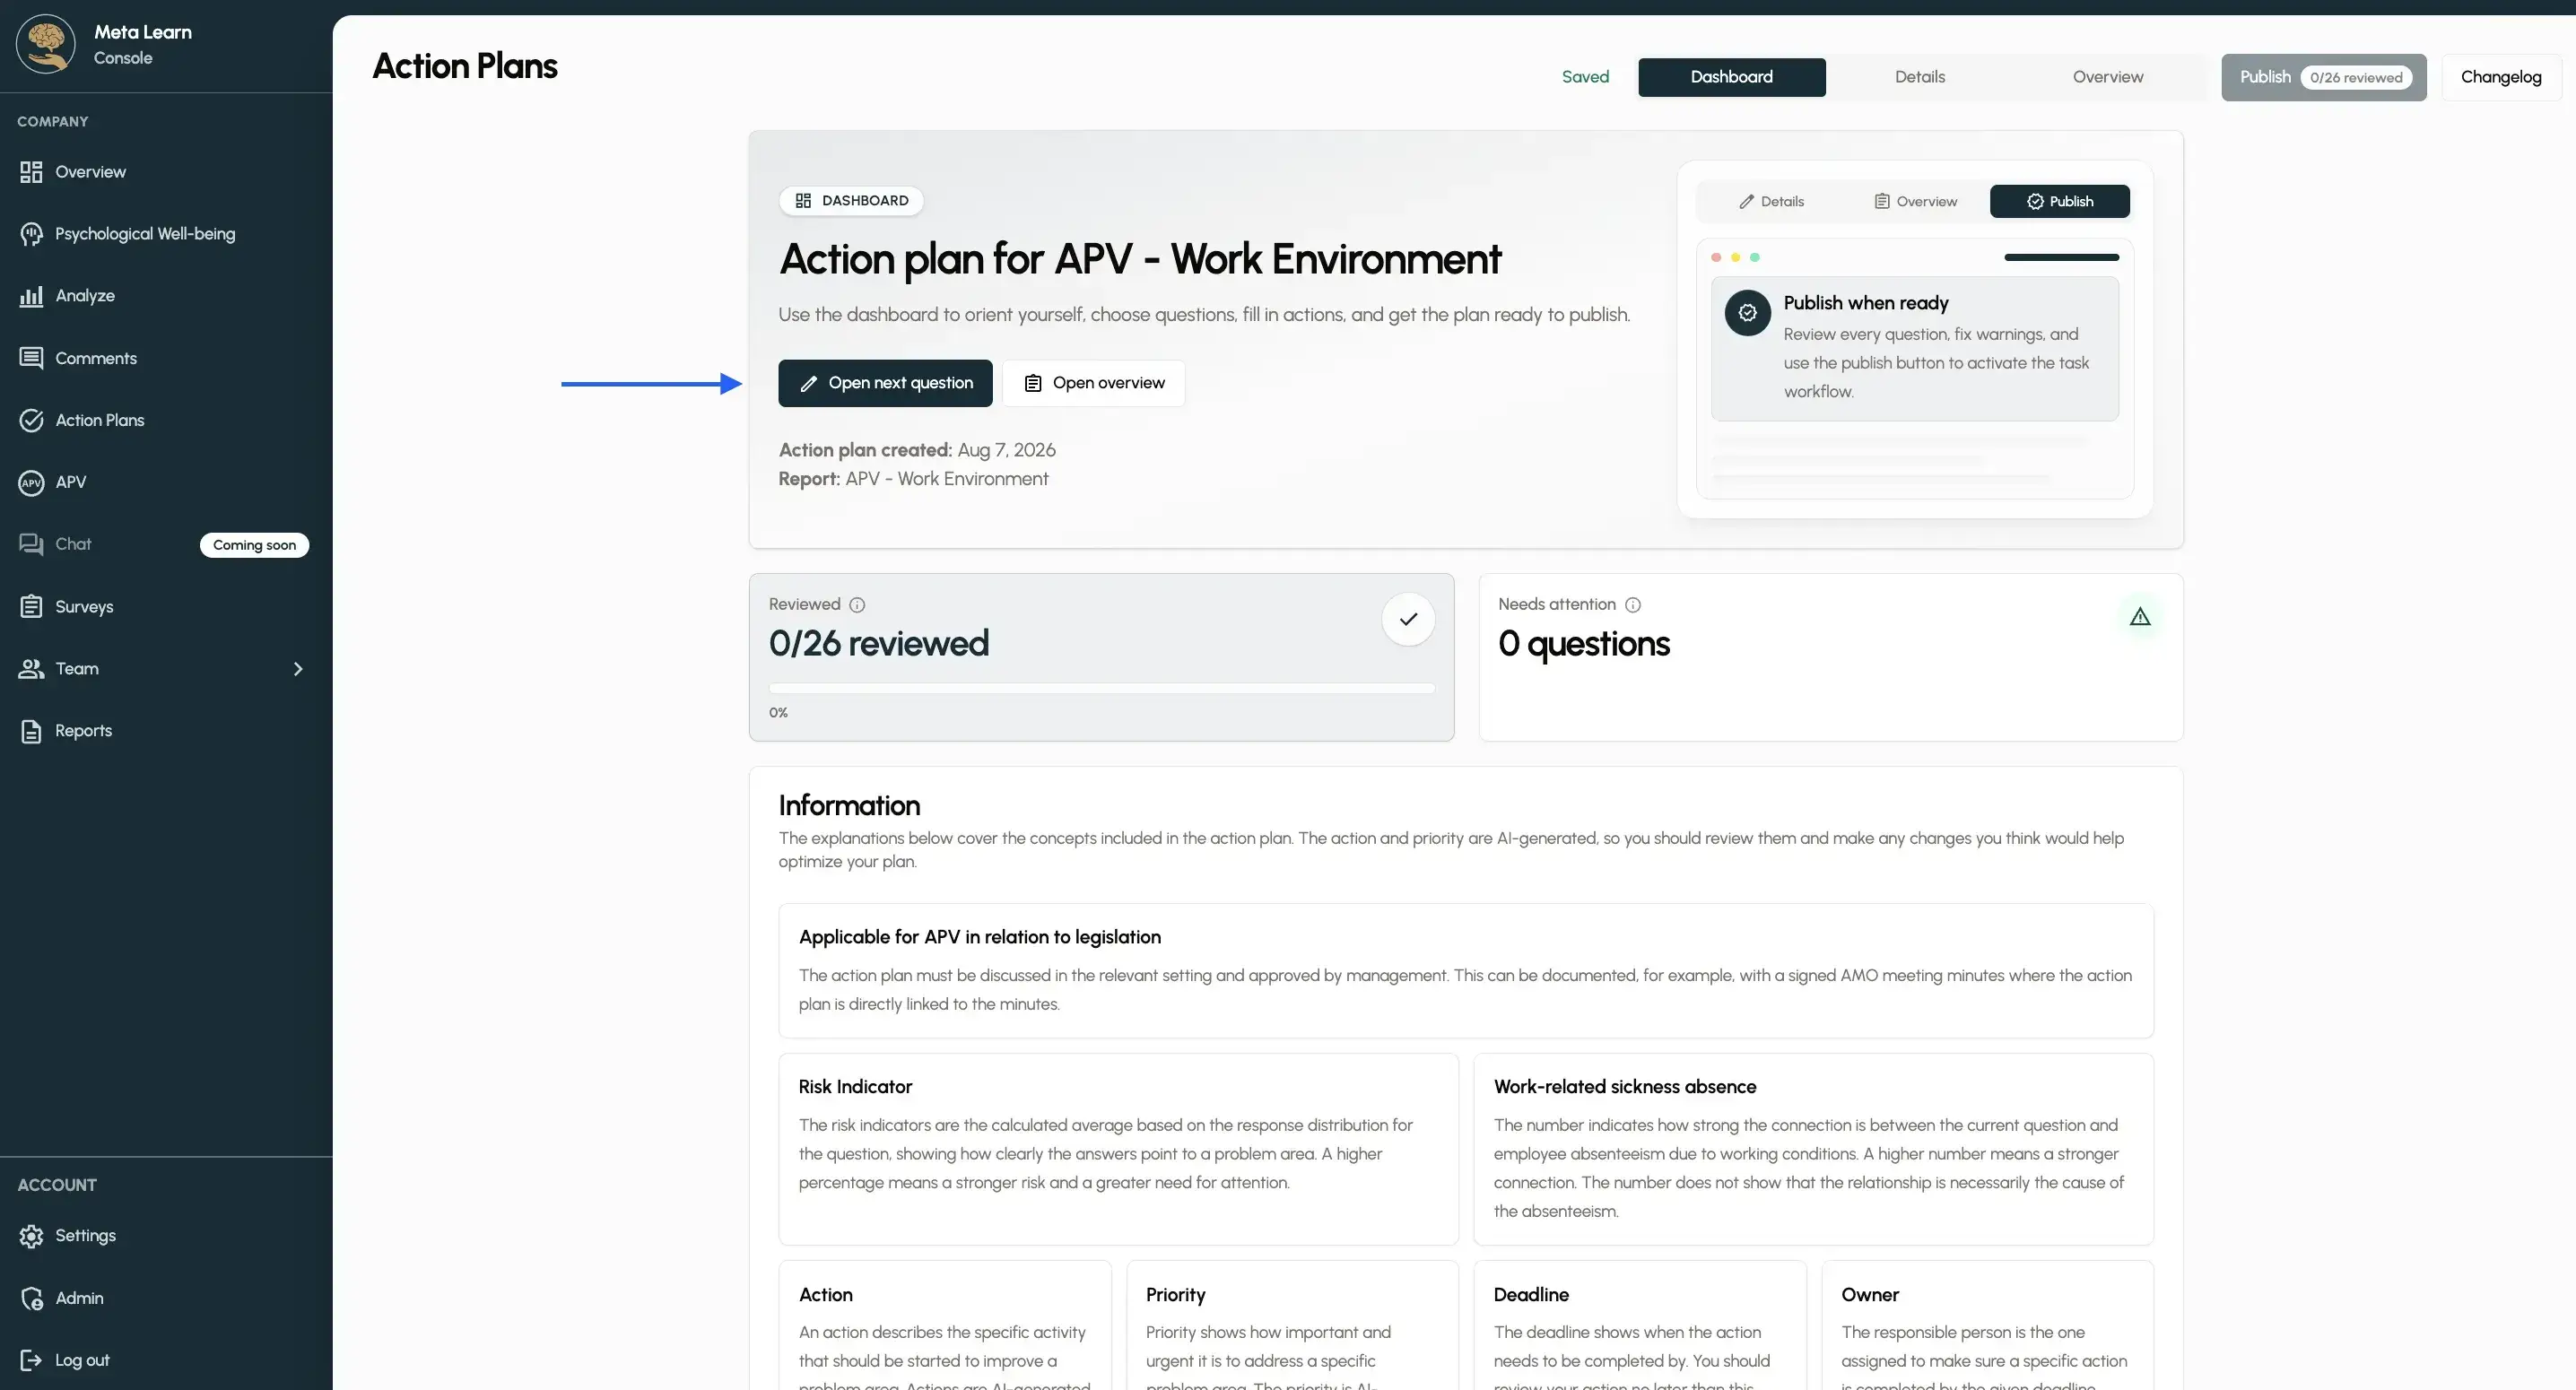
Tap “Open next question” to start working on your action plan.
Step 7: Assess risks and assign responsibility
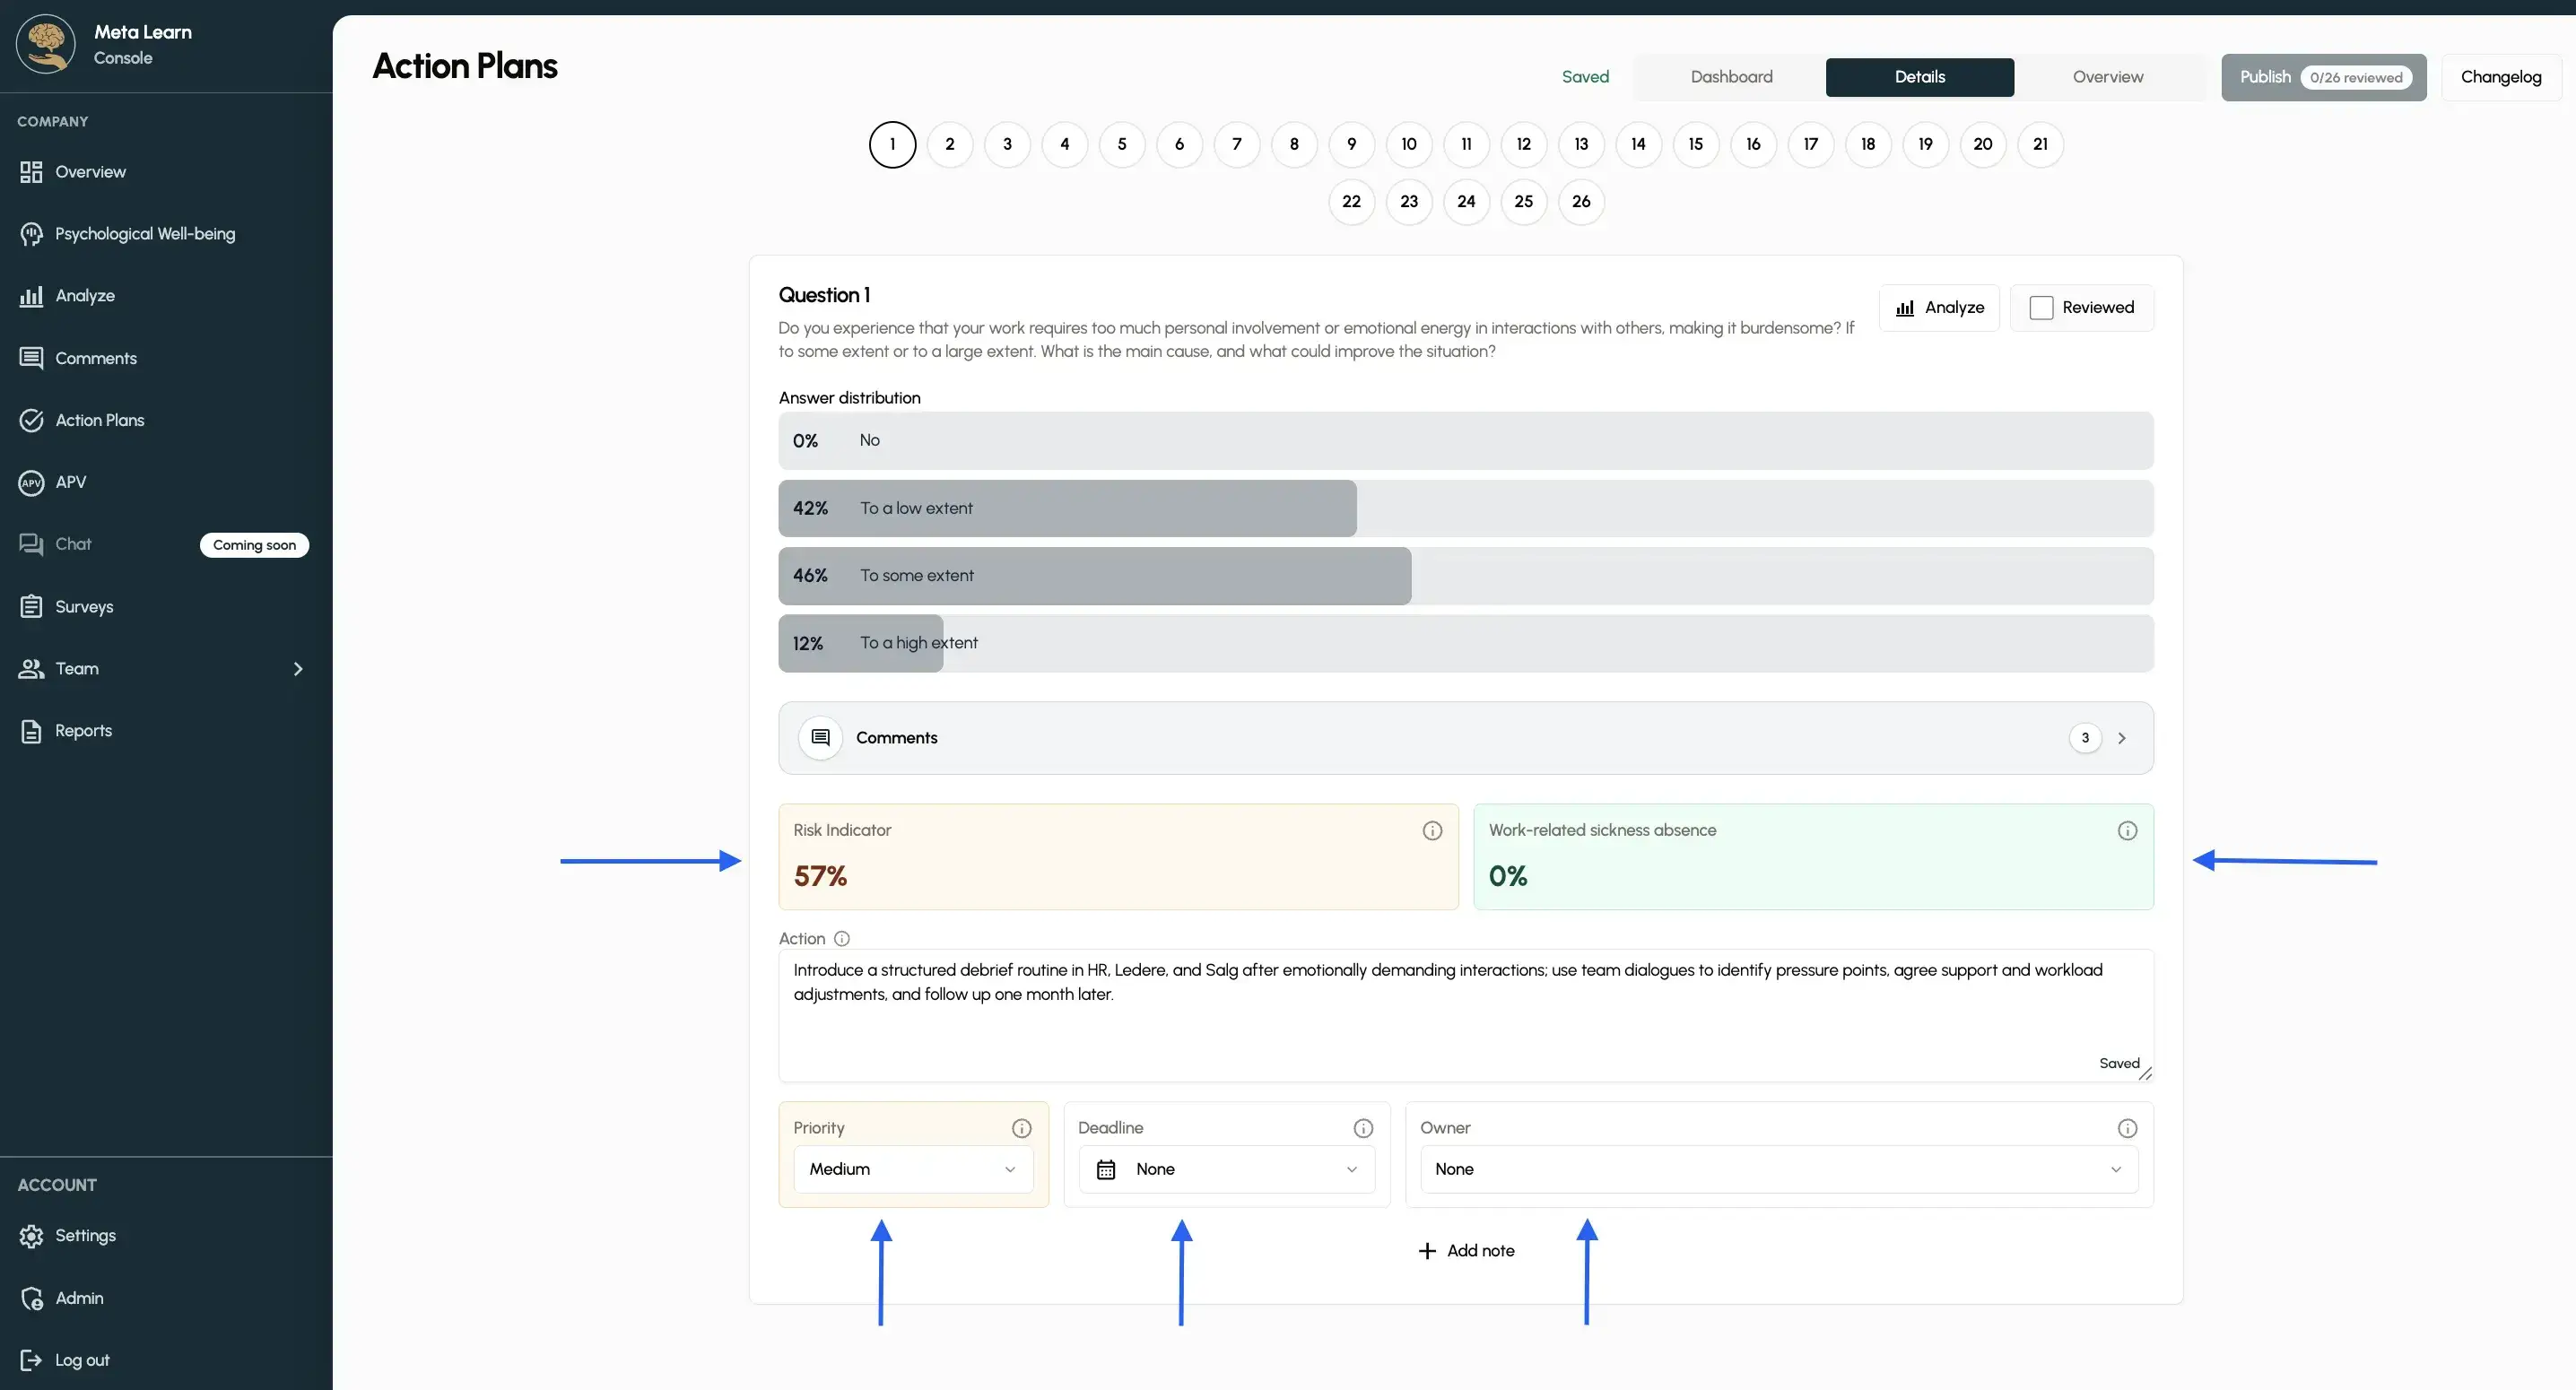
You can now see the first question from your APV along with its answer. Look at the Risk Indicator and Work-Related Sick Leave to assess the action plan and priority as accurately as possible. Assign someone responsible and choose a deadline so the action plan has clear ownership and can be followed through.
Step 8: Review
Once you’ve filled in all the fields, tap “Review” to turn the action plan into concrete steps.
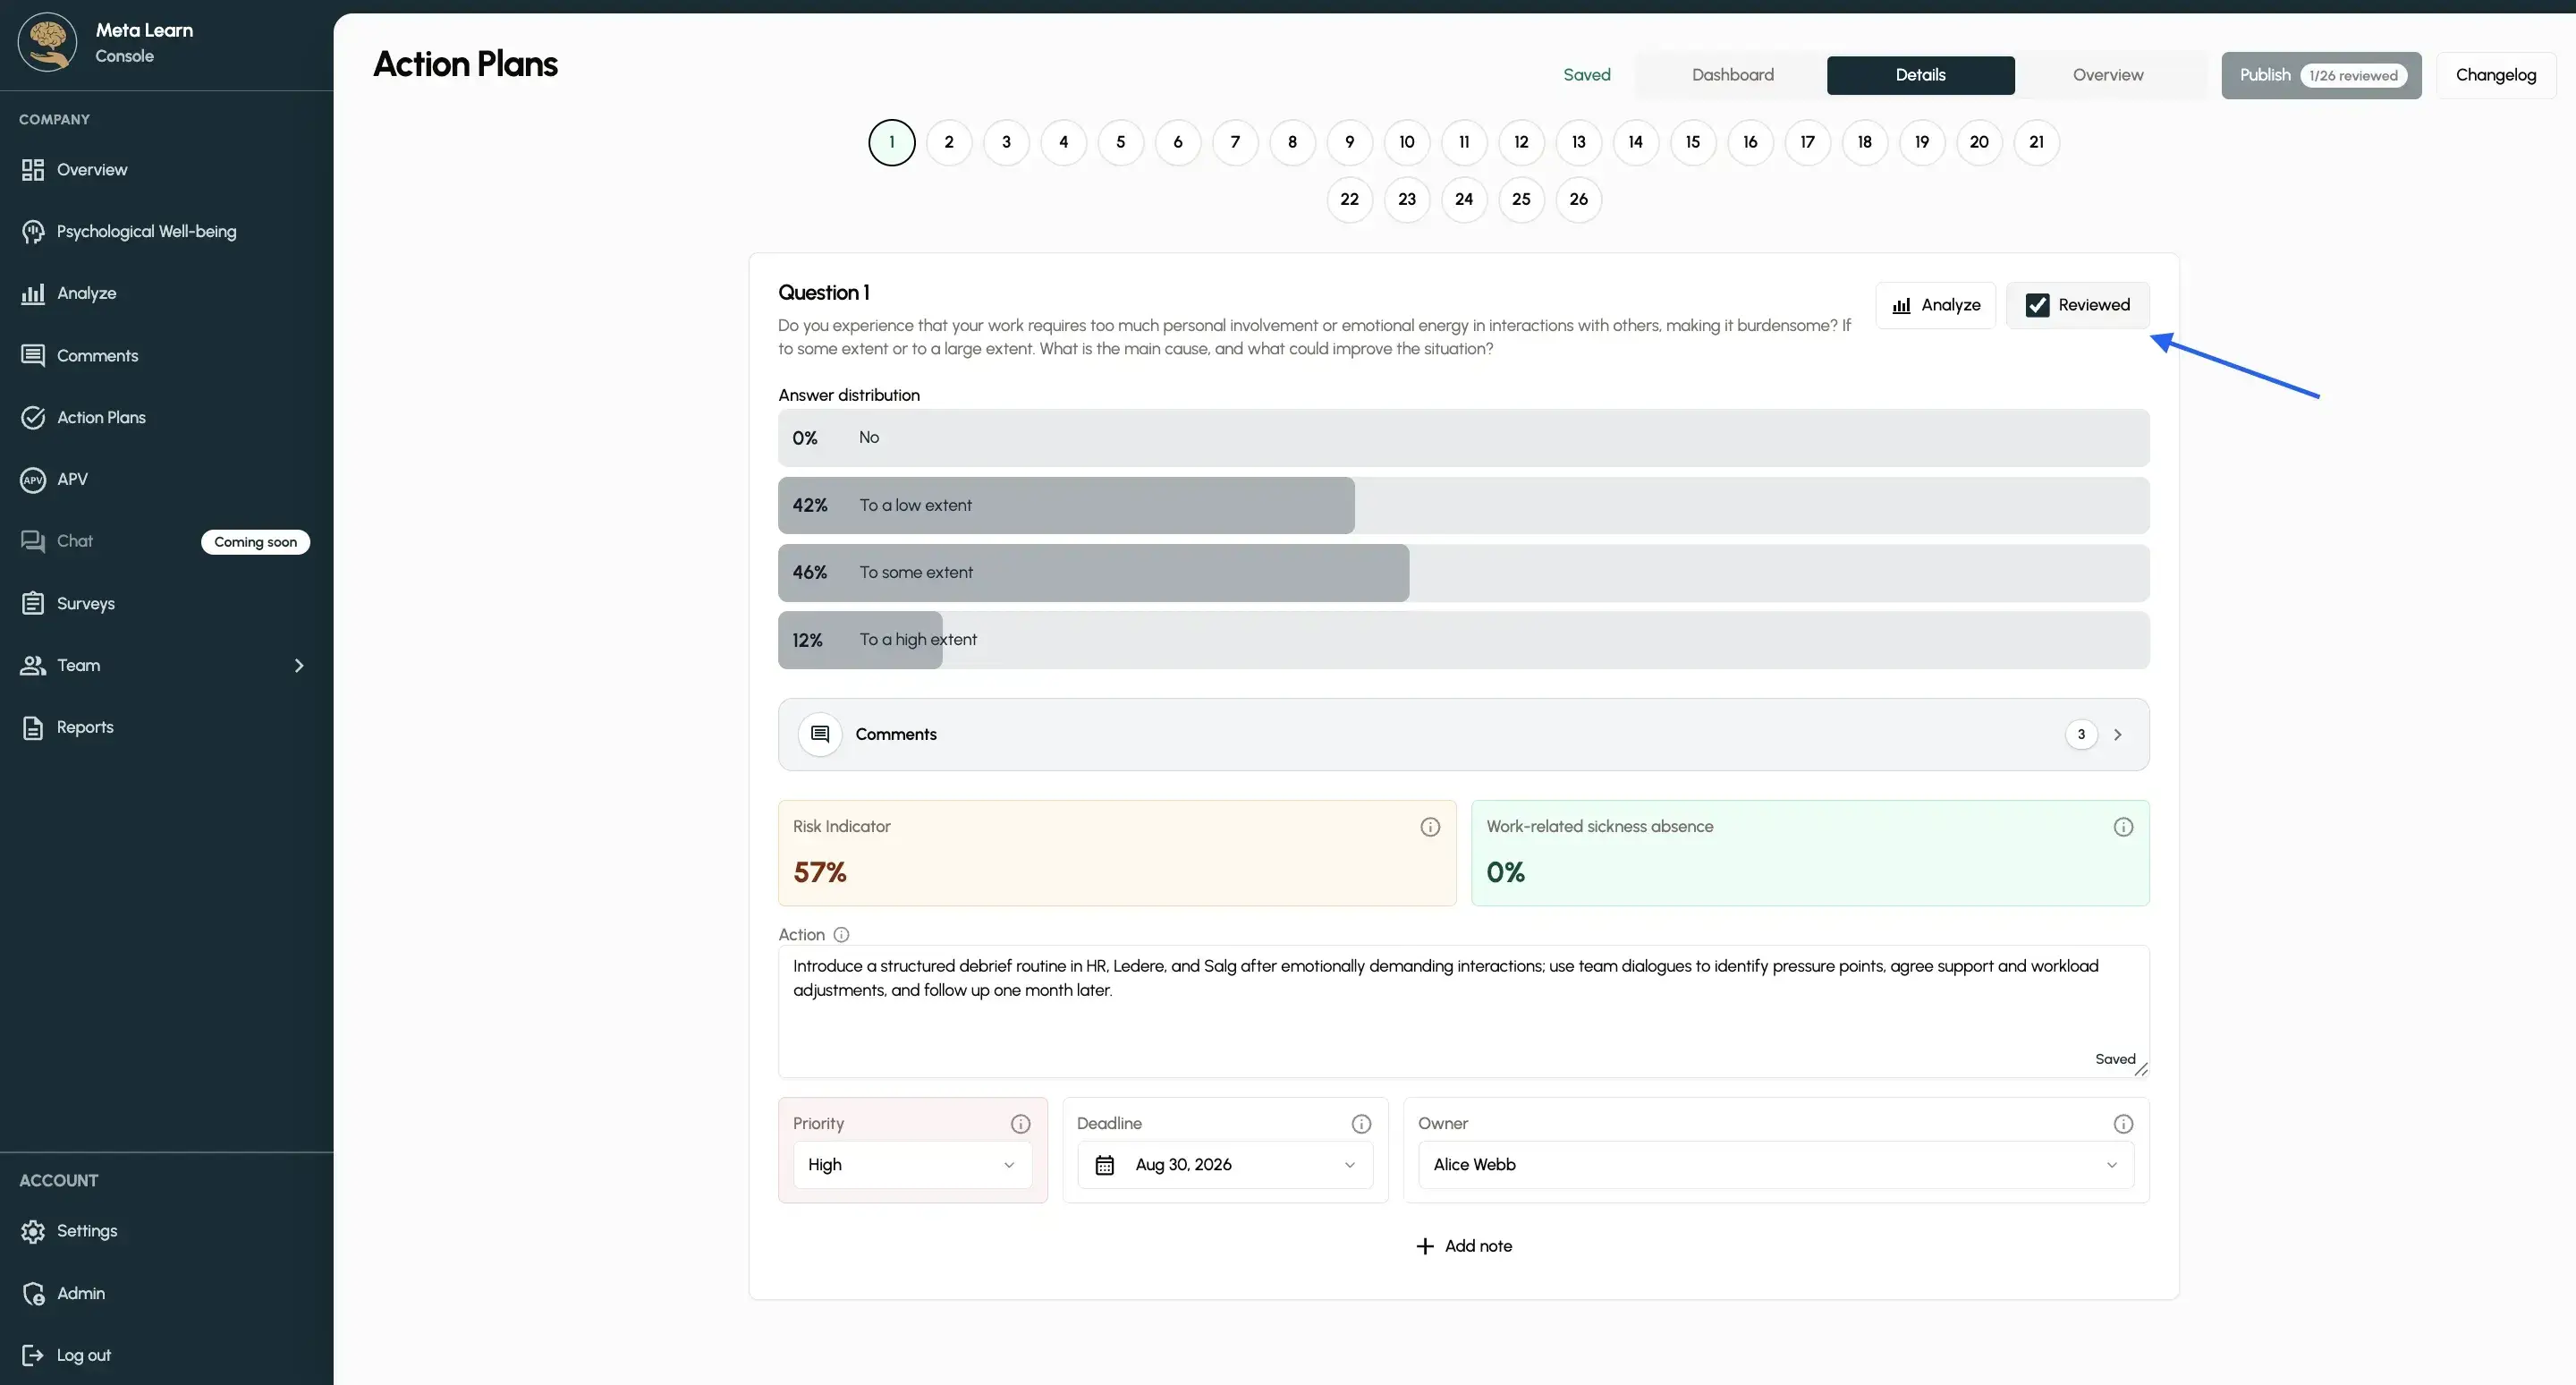
Select tasks
Go through all the questions in the action plan and choose the tasks you’d like to keep working on.
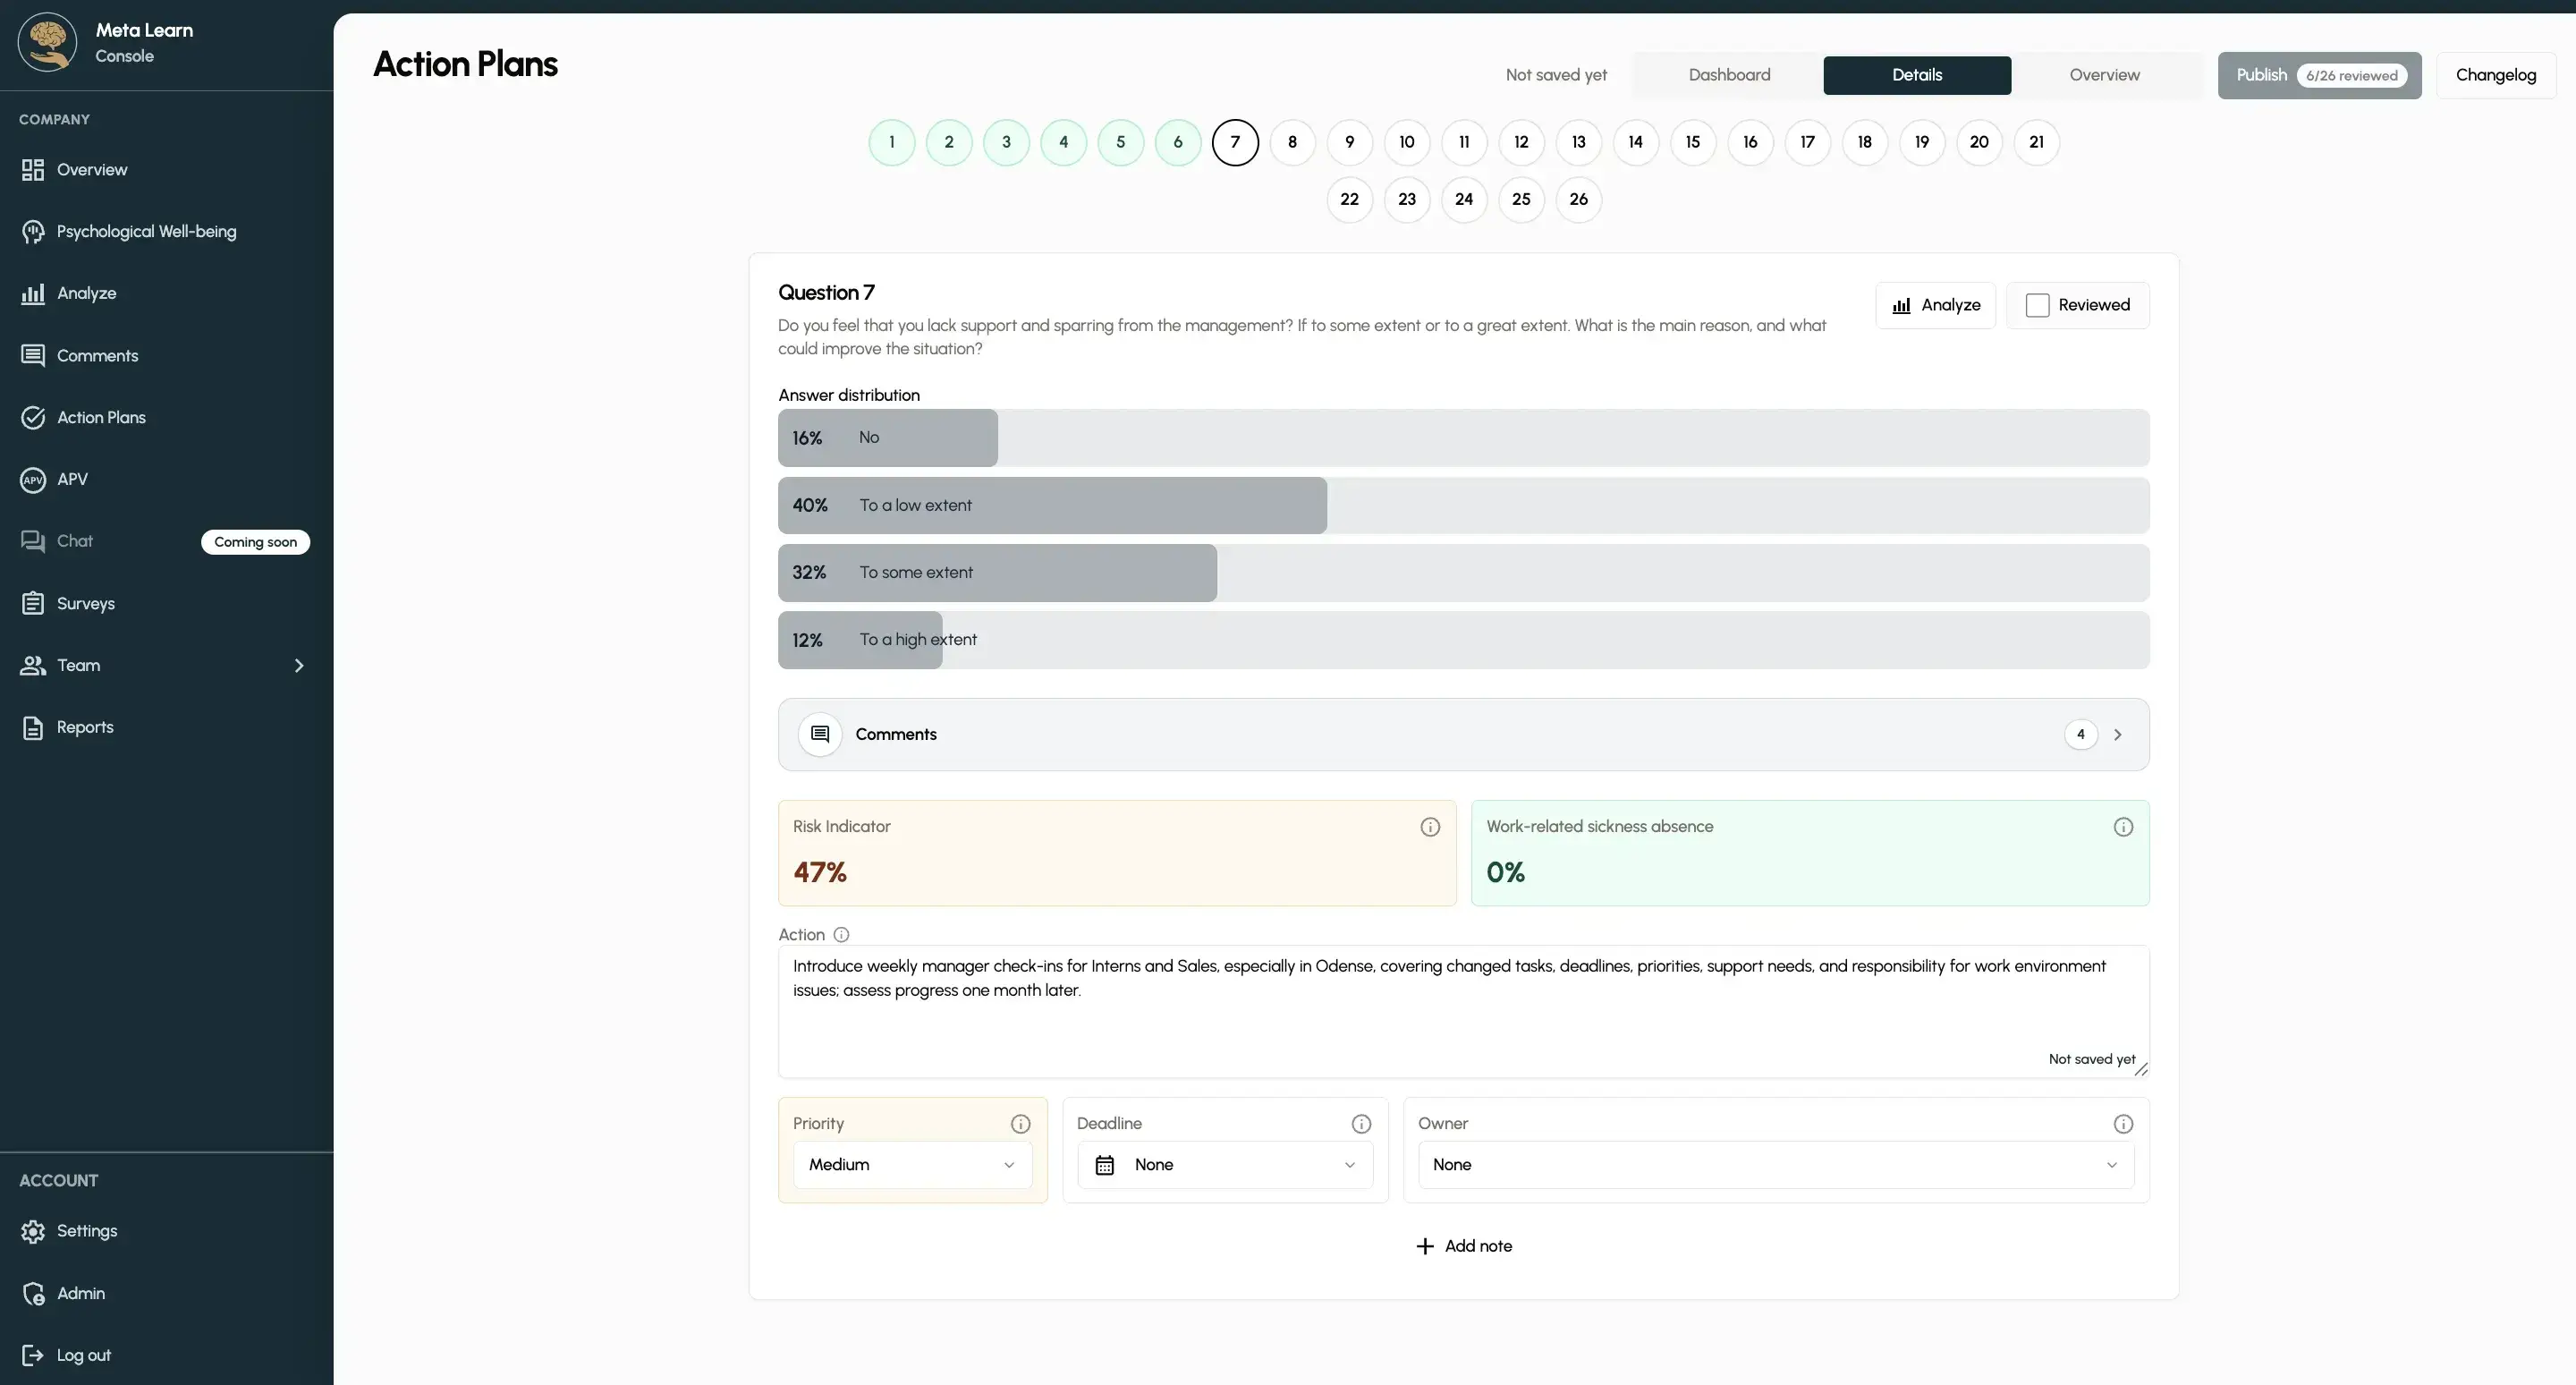
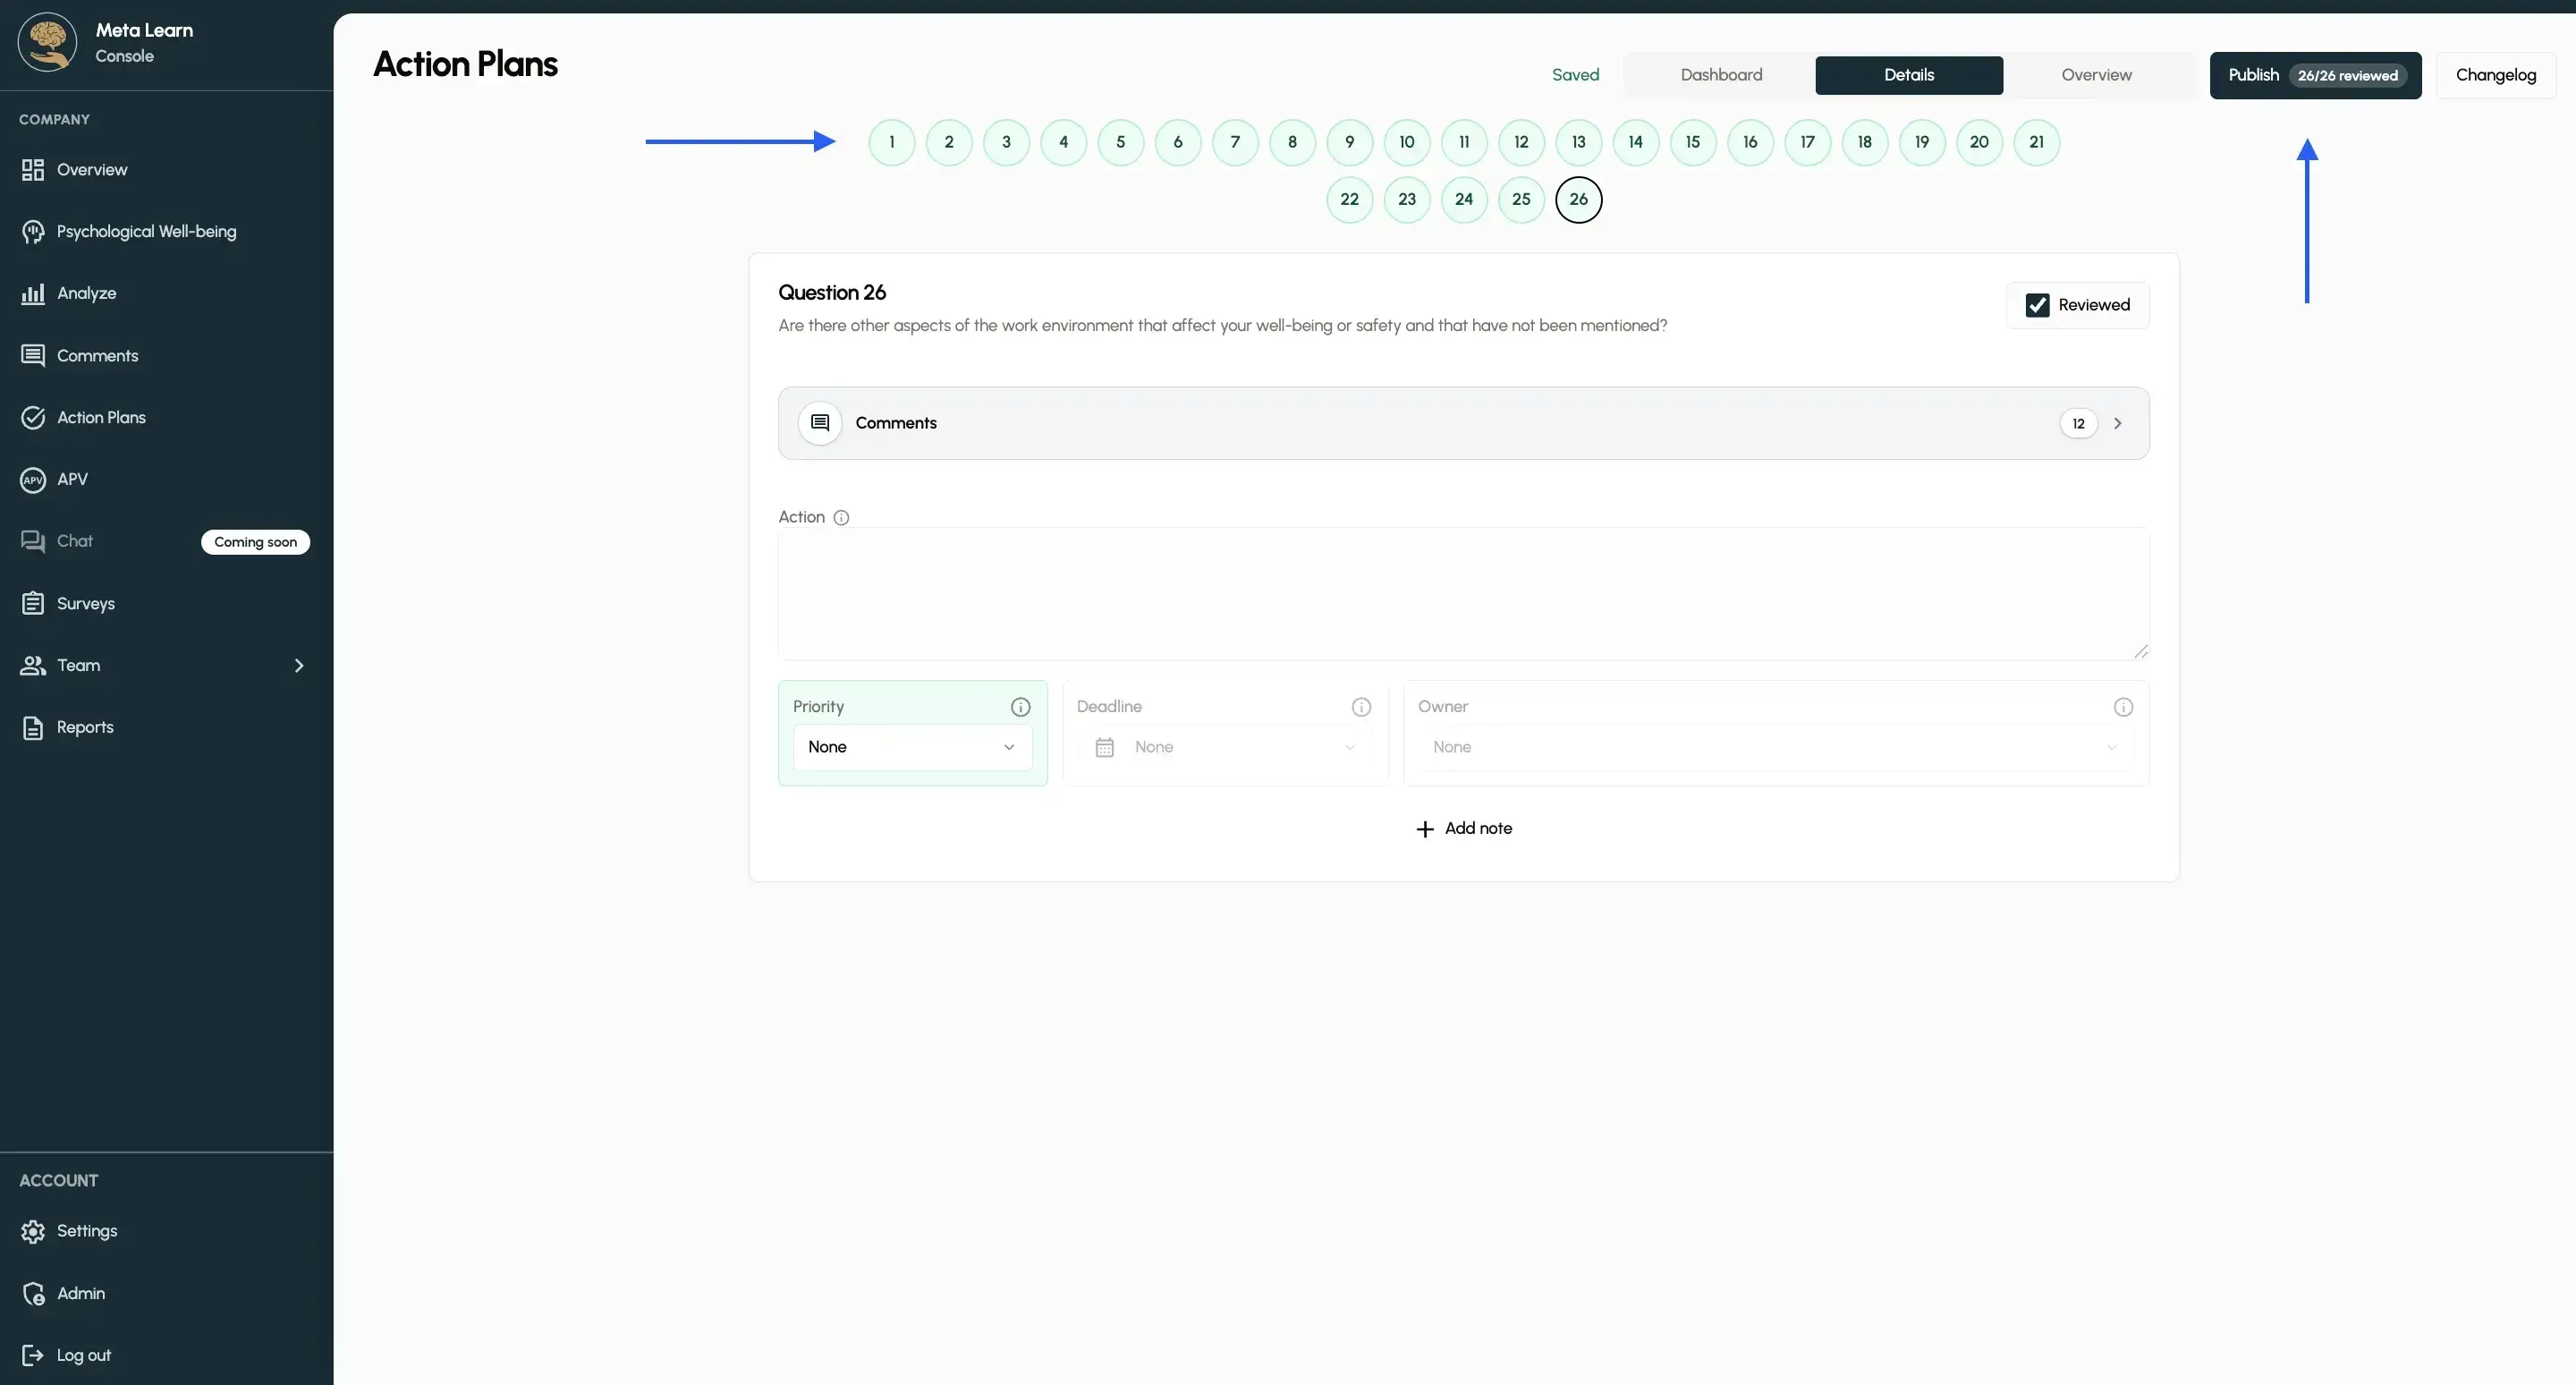
Step 10: Publish
Once you’ve gone through all the questions, tap “Publish” to create your complete action plan.
Step 11: Send notification
You can now create a notification, which means that the people responsible for the tasks will receive an email with their respective tasks. Once a task is completed, both you and the person responsible can mark it as done by tapping “Mark as done.”
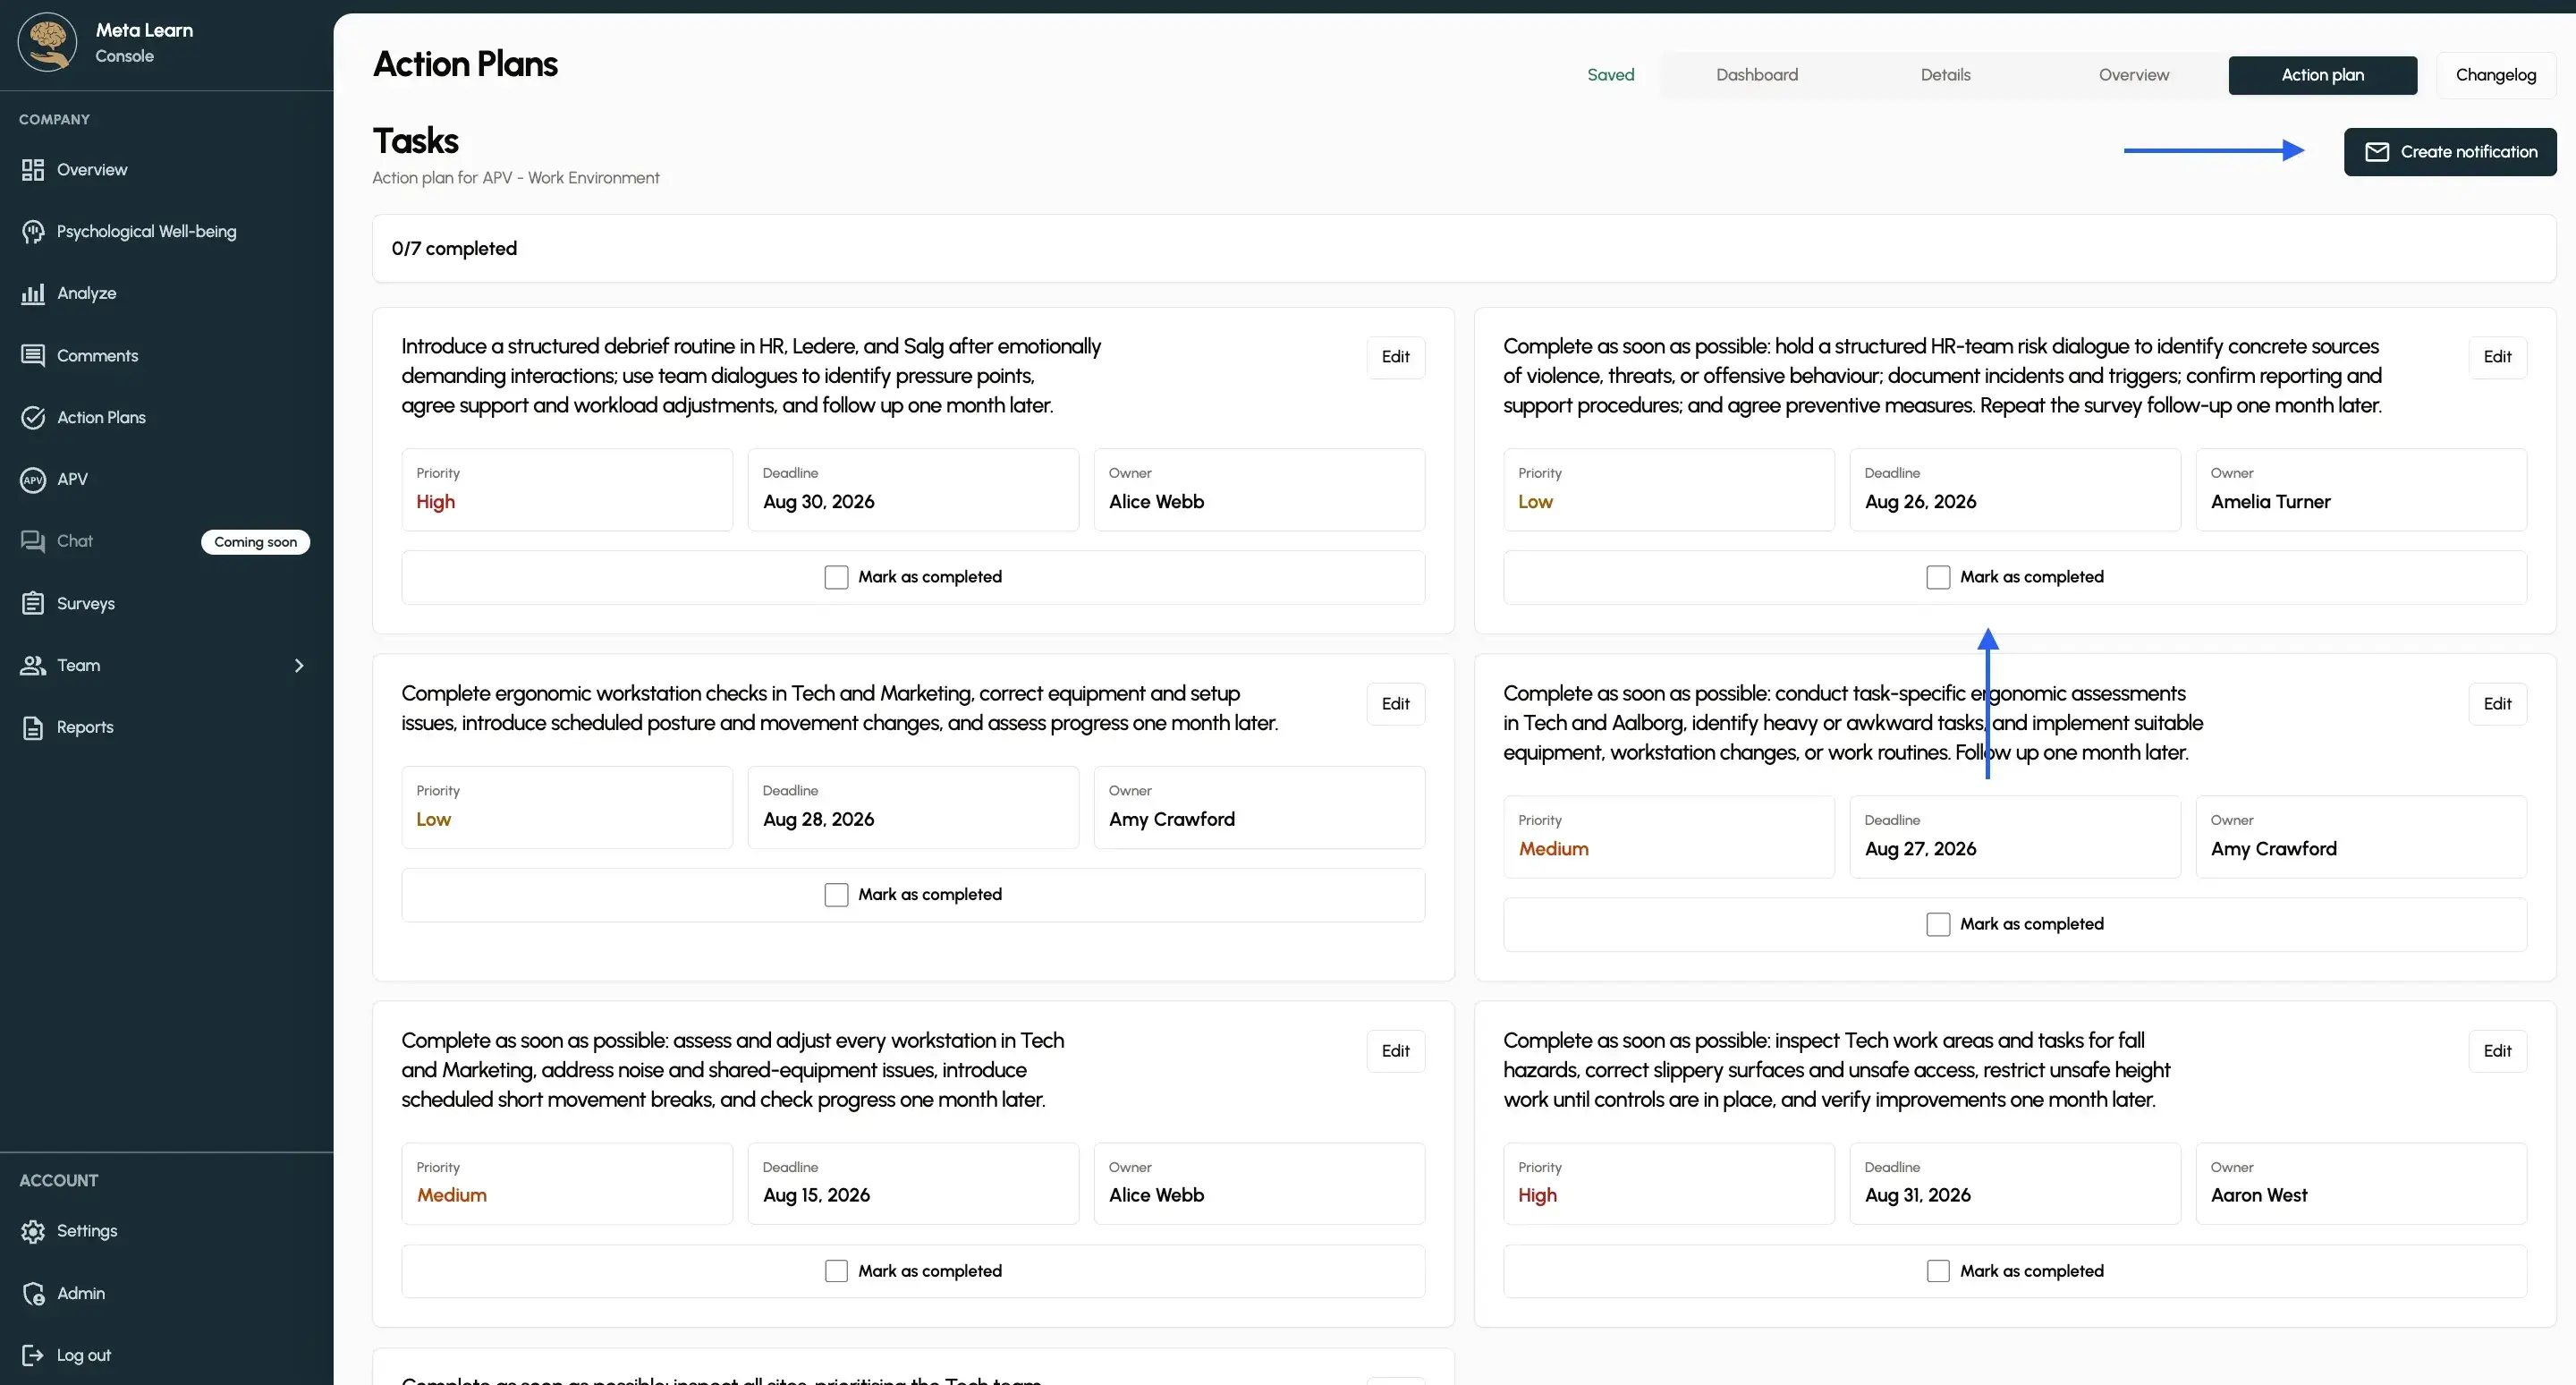
Step 12: View the finished plan
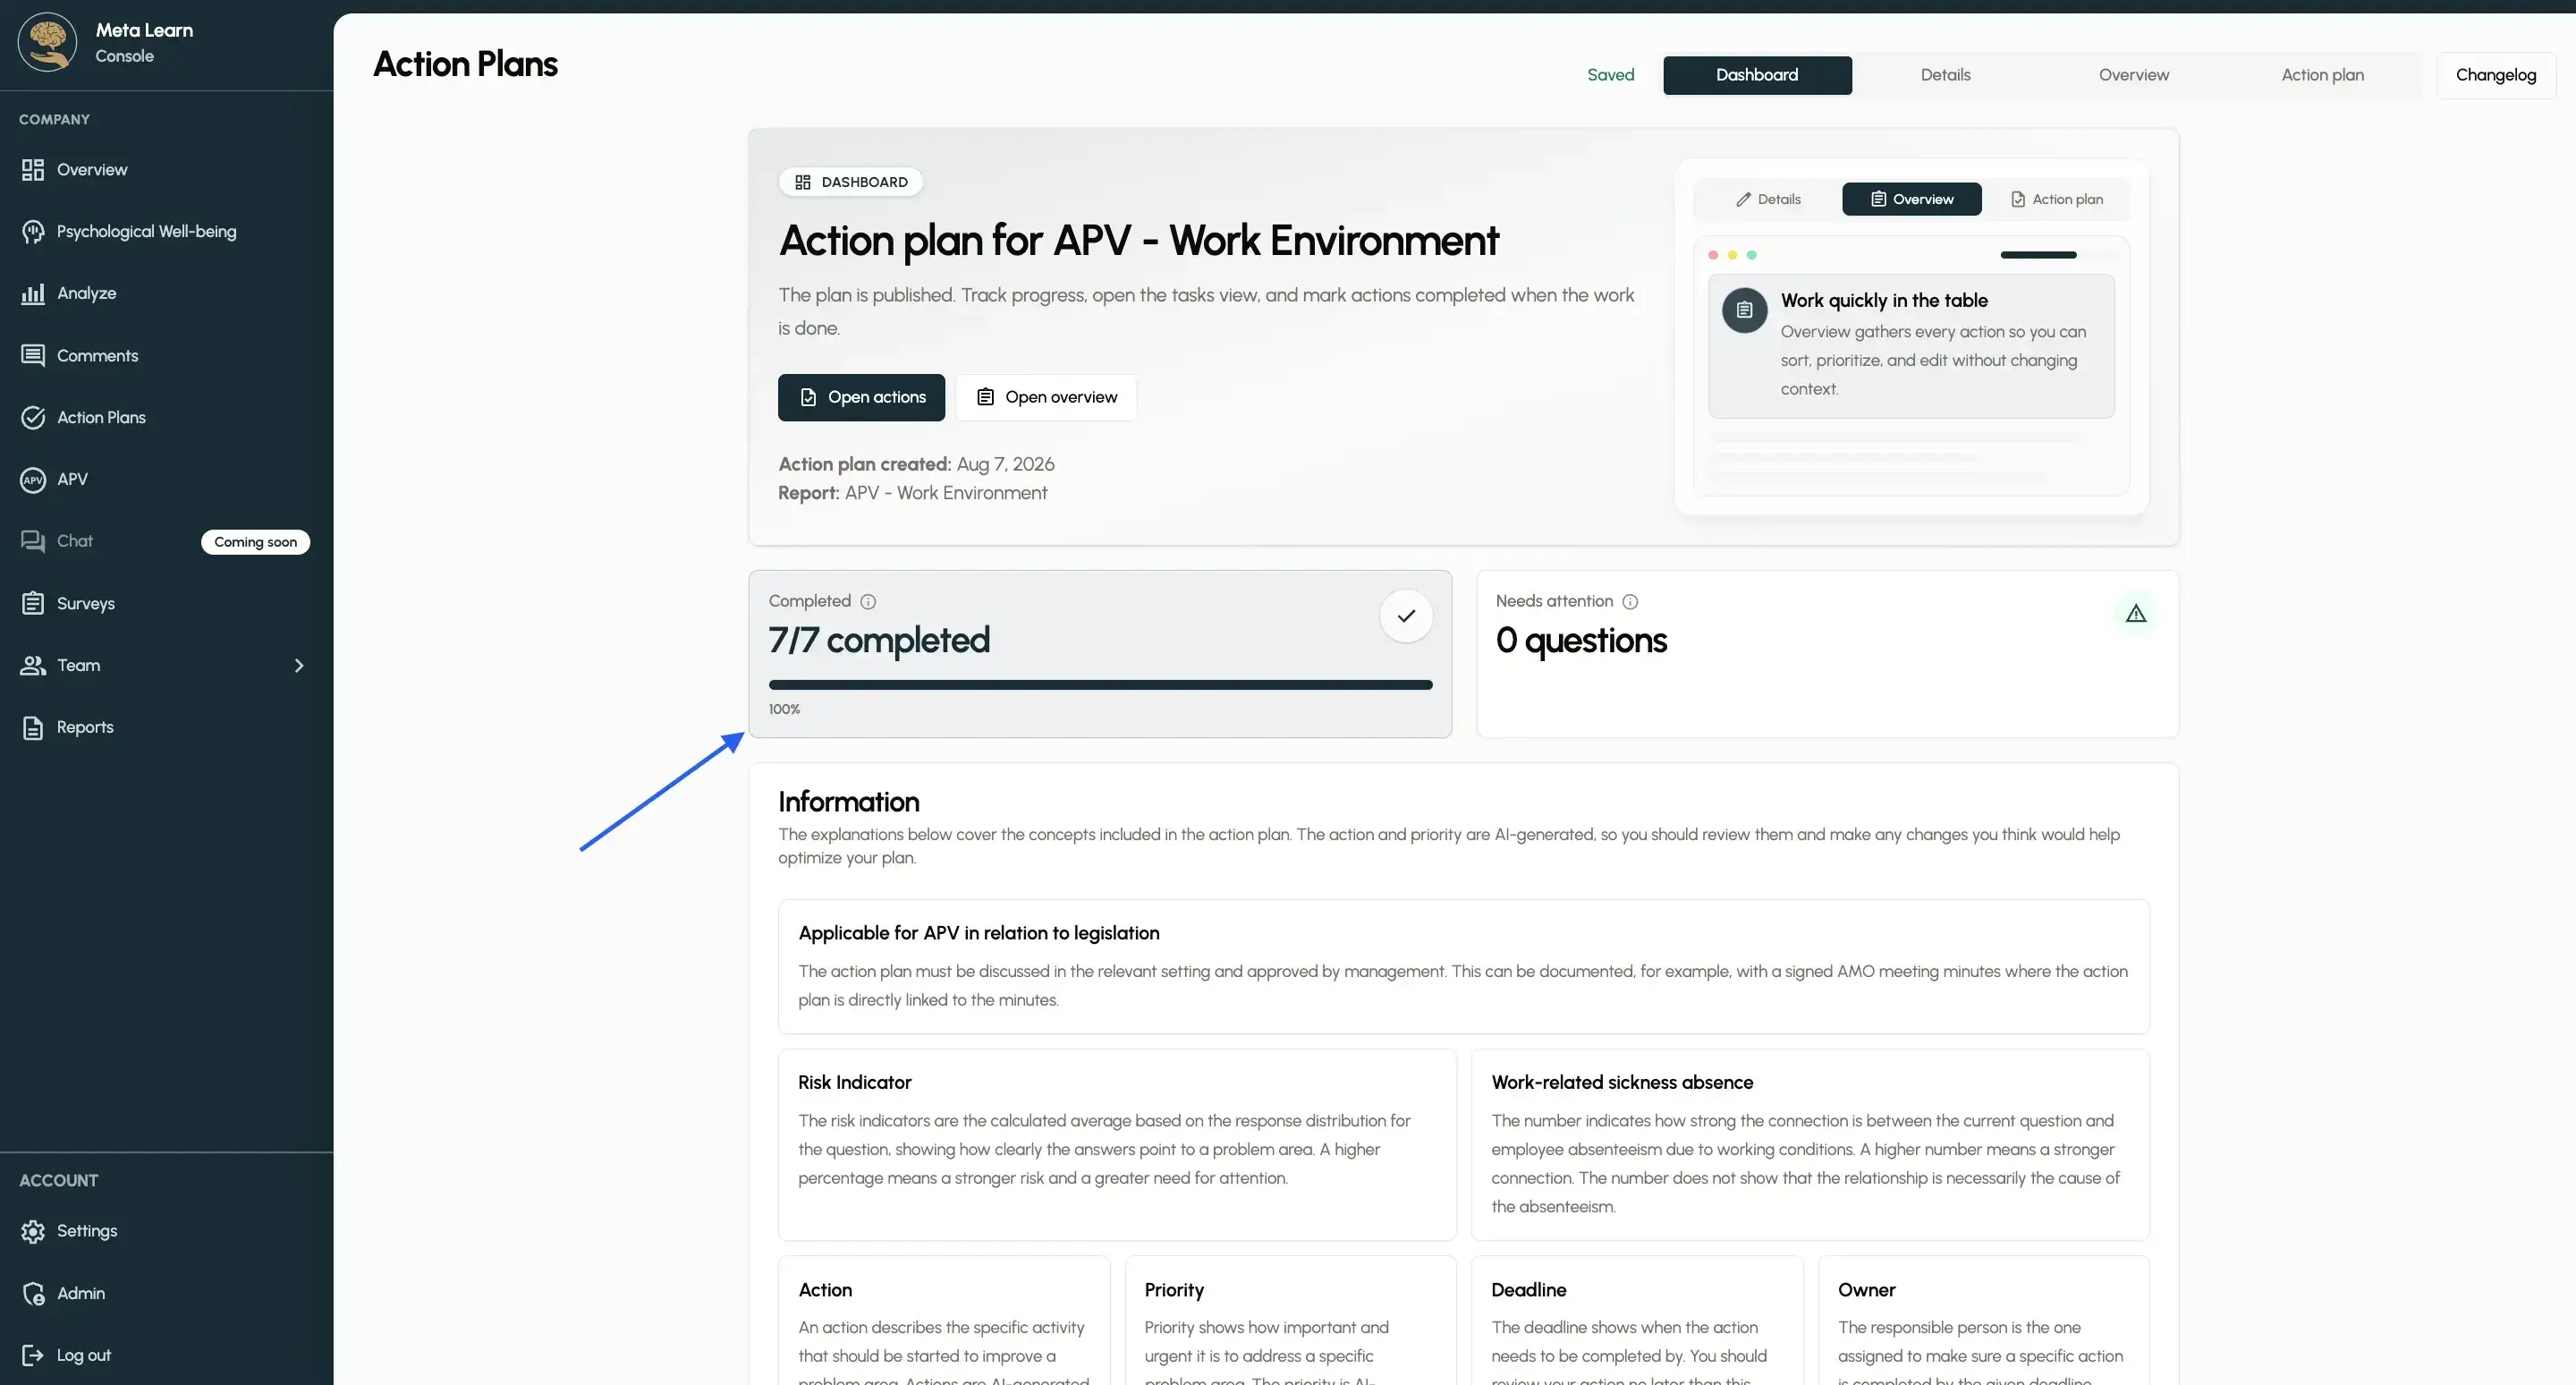
The completed action plan will remain as documentation and can serve as a starting point for your continued follow-up. You can always see how many tasks are left and how many have been completed.
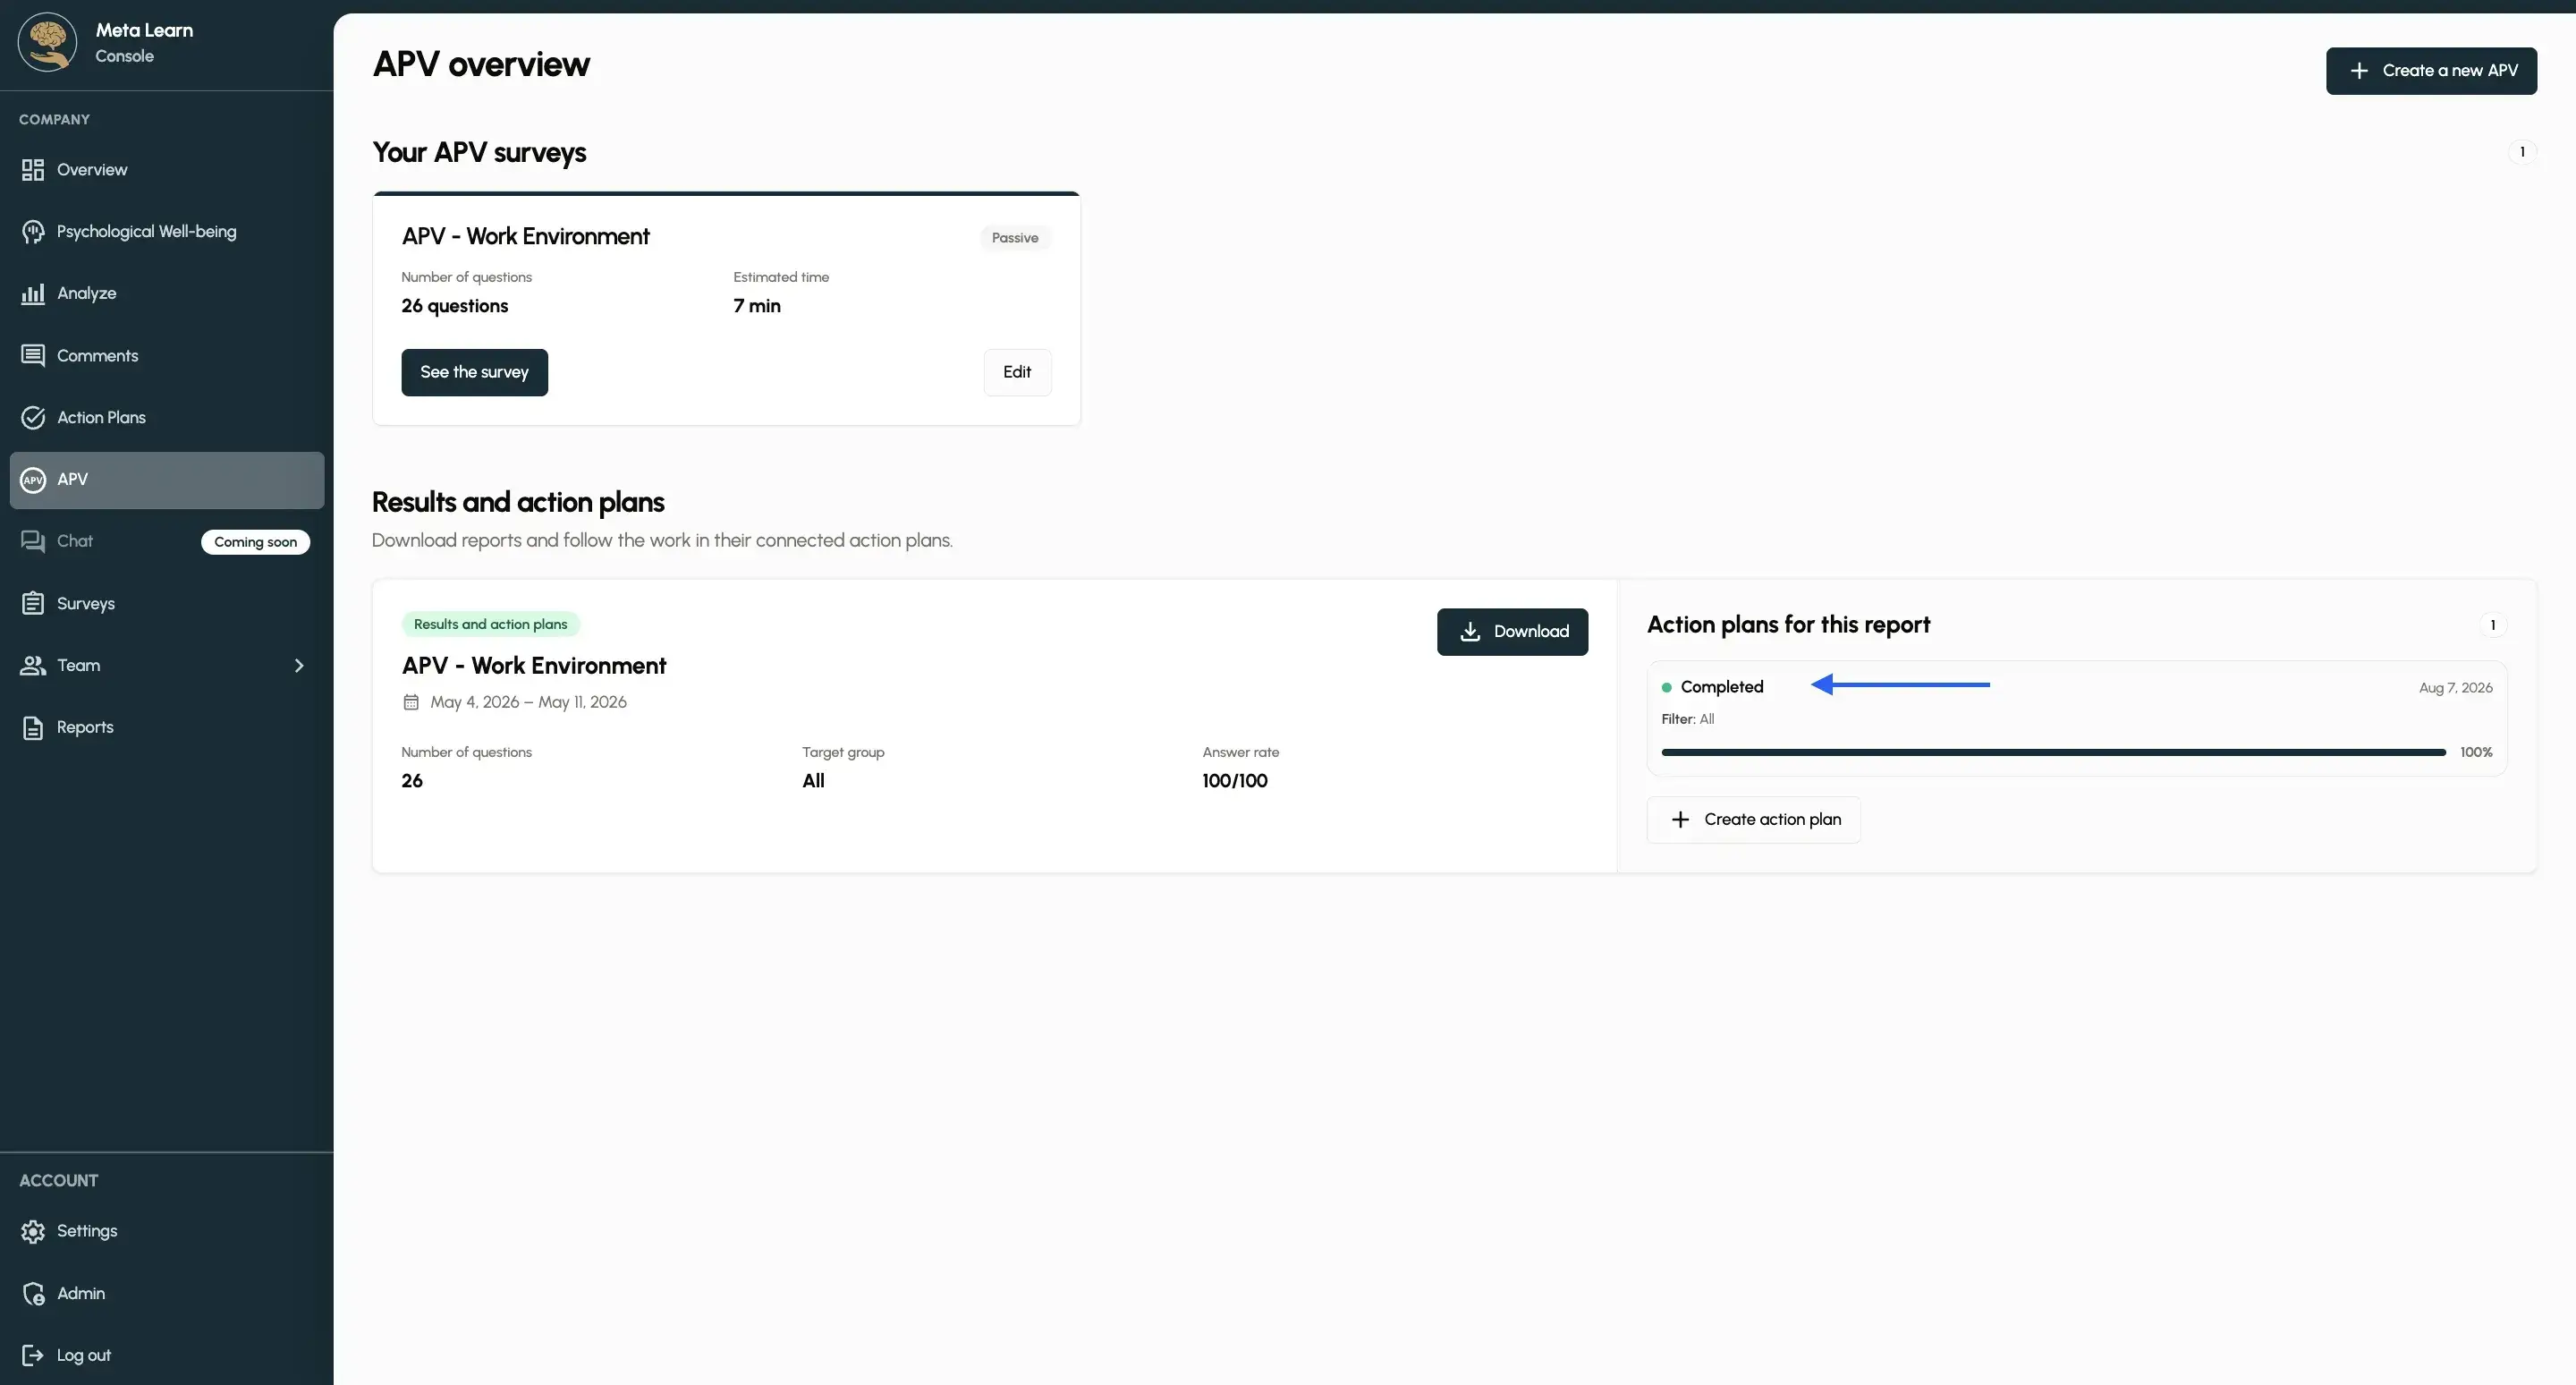
Return to the APV overview
Once the tasks in the action plan are complete, you can see this on the APV page. You can also create a new action plan there at any time if you’d like to continue working with your APV data.